

Three DNS records decide whether your mail lands in the inbox and whether anyone else can send as your domain: SPF, DKIM and DMARC. Gmail and Yahoo have required them from bulk senders since 2024. The records themselves are short. The order is what matters: jumping straight to a strict DMARC policy is how companies block their own invoices.
Before you start
- The domain's DNS zone in InfraNest
- Admin access to every service that sends mail as the domain
- A mailbox (or a DMARC report tool) to receive DMARC reports
- 1
Step 1
List everything that sends email as your domain
SPF, DKIM and DMARC only vouch for the senders you know about. The one you forget, such as the invoicing tool, the newsletter, the website's contact form or the CRM, is the one that ends up in spam, or gets rejected once DMARC is enforced. Start with a complete list.
In InfraNest
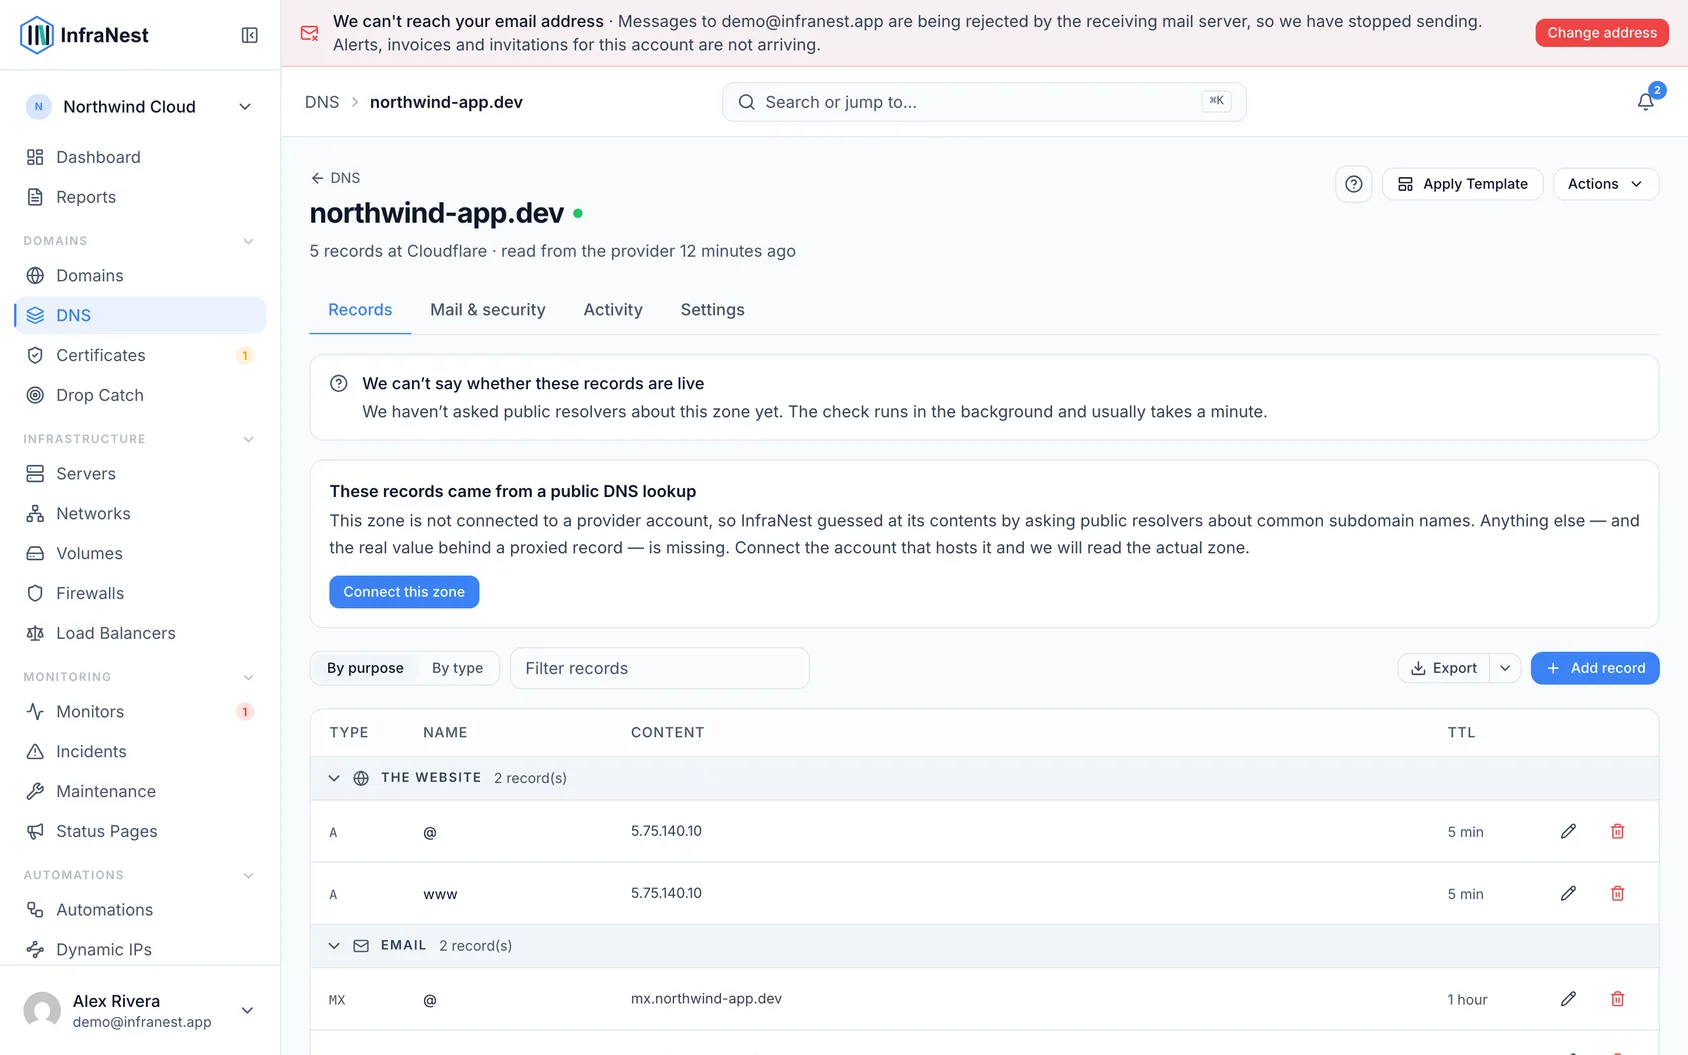
Open the zone under DNS and look at the Security Advisor: it shows which of SPF, DKIM and DMARC are set today and what they say. Then go through every service that sends mail with your domain in the From address. Your MX records tell you where mail arrives, not who sends it.
- 2
Step 2
Publish one SPF record that lists every sender
SPF is a single TXT record that lists who may send mail for your domain, usually as one `include:` per service. Keep it to **one** record: two SPF records cancel each other out, and receivers stop checking. Stay within 10 DNS lookups too, because past that SPF fails as if it weren't there.
In InfraNest
Open the zone's Security Advisor: it recommends an SPF record for the domain. Check that the recommendation includes every sender from step 1, then add it in the Records table as a TXT record on the domain itself (leave Name empty), for example
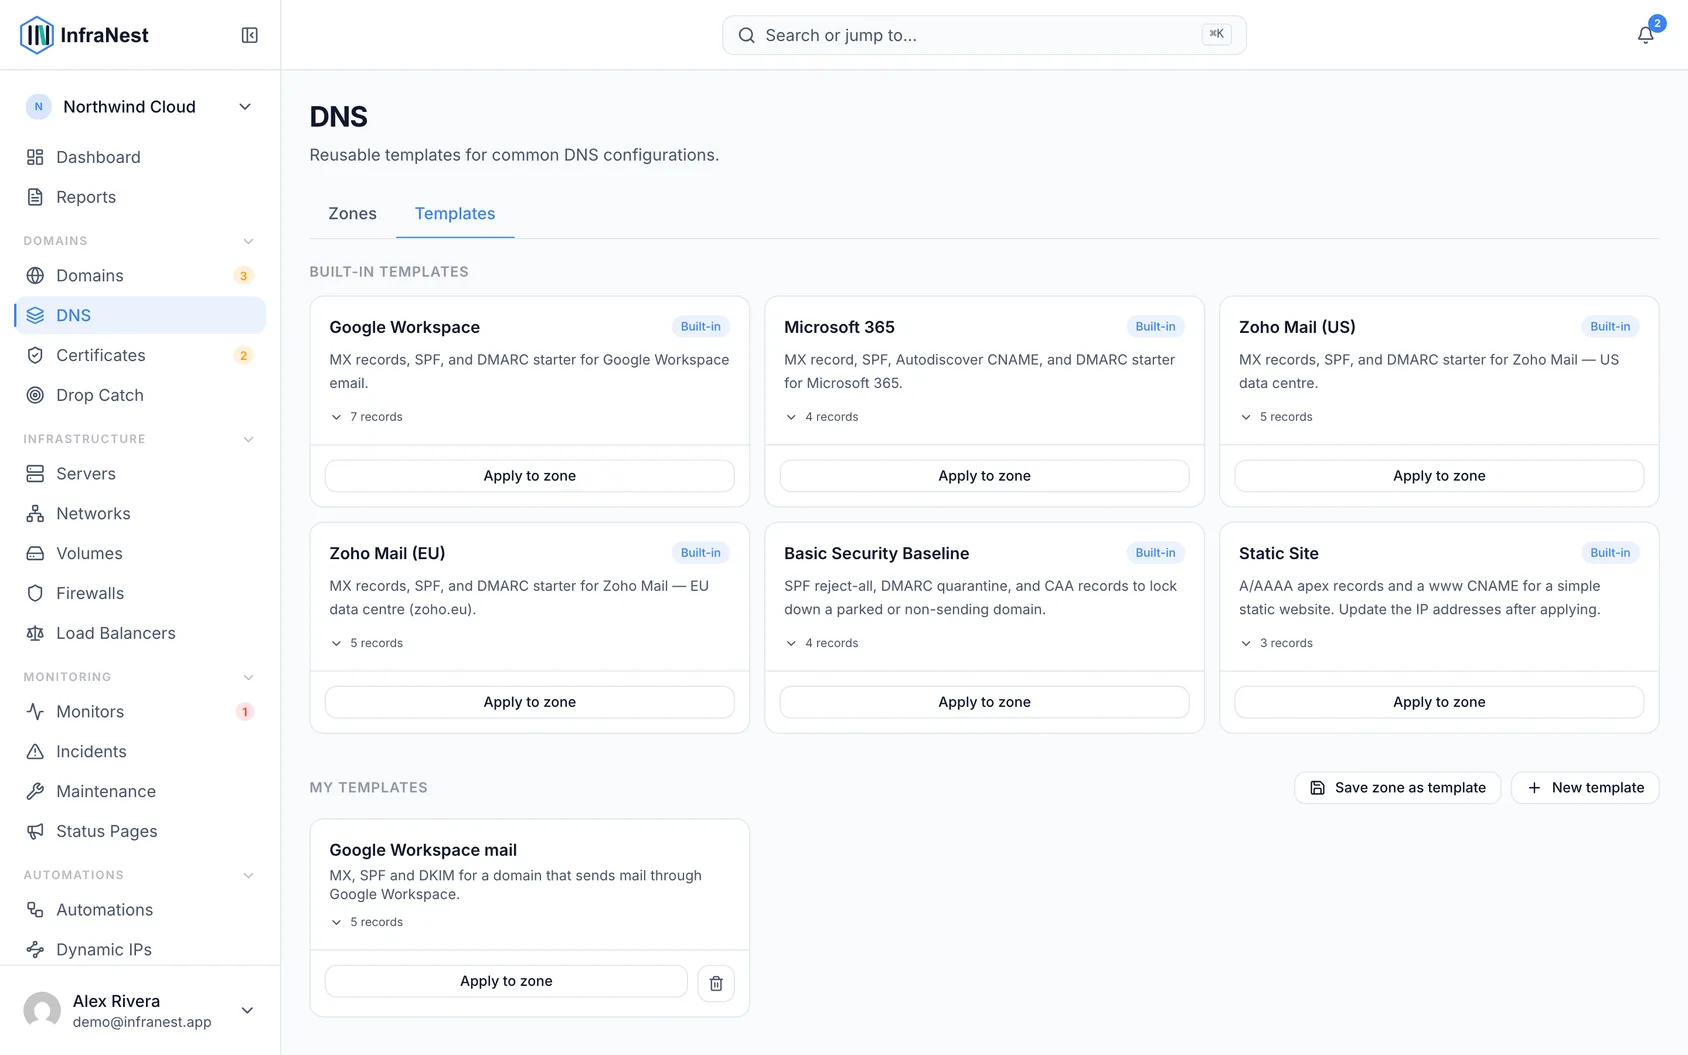
v=spf1 include:_spf.google.com include:sendgrid.net ~all. If the domain already has an SPF record, the editor warns you. Edit that record instead of adding a second one. Using Google Workspace, Microsoft 365, Zoho Mail or another common mail provider? On Pro, its built-in DNS template adds that provider's records in one go. Use Preview changes first, and make sure you still end up with one SPF record. - 3
Step 3
Turn on DKIM for each sender
DKIM signs every message with a key, and receivers check the signature against a public key published in your DNS. Unlike SPF, it survives forwarding. You don't create the key yourself: each sending service generates its own, so every sender on your list gets its own DKIM record.
In InfraNest
InfraNest can't create DKIM keys: they come from your email provider and other senders. In each sender's admin panel, find the DKIM or "authenticate your domain" setting. It gives you one or more records, usually TXT or CNAME on a name like
google._domainkey. Add them in the Records table exactly as given, with only the part in front of your domain in Name. Then switch signing on in the sender's panel; most services only start signing once they see the record. The Security Advisor's DKIM check confirms it. - 4
Step 4
Publish DMARC in monitoring mode
DMARC ties SPF and DKIM to the From address your reader actually sees, and tells receivers what to do when a message fails both. Start with `p=none`: nothing gets blocked yet, but receivers send you daily reports of who is sending as your domain. That is how you find the senders you missed.
In InfraNest
The Security Advisor recommends a DMARC record. Add it in the Records table as a TXT record with Name
_dmarc, starting in monitoring mode, for examplev=DMARC1; p=none; rua=mailto:[email protected]. The address afterrua=receives the reports. Once it's live, the advisor checks it. - 5
Step 5
Read the reports for a few weeks
This step happens outside InfraNest. The reports list every server that sent mail as your domain and whether it passed SPF and DKIM. They arrive as XML attachments, so use a DMARC report analyser (many have a free tier) rather than reading them by hand. A legitimate sender that fails gets fixed now: add it to SPF (step 2) or turn on its DKIM (step 3). A server you don't recognise that fails is someone else using your name, and that's what enforcement will stop.
- 6
Step 6
Tighten the policy: quarantine, then reject
Watch out: Enforcing before every legitimate sender passes sends your own invoices, password resets and newsletters to spam, or bounces them outright.
Once the reports show only your own senders, and all of them pass, raise the policy. `p=quarantine` sends failing mail to spam; `p=reject` refuses it outright. Give each stage a couple of weeks of clean reports before the next.
In InfraNest
Edit the
_dmarcrecord in the Records table and changep=nonetop=quarantine, and later top=reject. Keep therua=address, so you keep hearing about failures. - 7
Step 7Needs Pro
Make it the default for every new domain
A setup that works is worth keeping. Domains that never send mail are the easiest to spoof, because nobody watches them, so lock those down completely: `v=spf1 -all` as SPF and `v=DMARC1; p=reject;` as DMARC.
In InfraNest
On the finished zone, choose Save zone as template. When you add a new zone, pick it under Apply a template, and use Preview changes to see what it adds. Make a second template for domains that don't send mail.
The Security Advisor keeps reading your live records, so if someone later removes the DMARC record or adds a second SPF record, the zone's status shows it.