

Manage your domain's DNS records from one place, with InfraNest keeping your provider in sync automatically. This is for anyone who needs to add, change, or remove DNS records without digging into technical detail.
Overview
- Add, edit and delete records in a single editor that pushes changes straight to your provider.
- The editor shows only the fields that matter for each record type — for example priority for MX, or Proxy status for Cloudflare.
- Built-in checks catch common mistakes before you save, and InfraNest rolls back any change your provider rejects, so the two never disagree.
Edit records
- Open a zone from the DNS page.
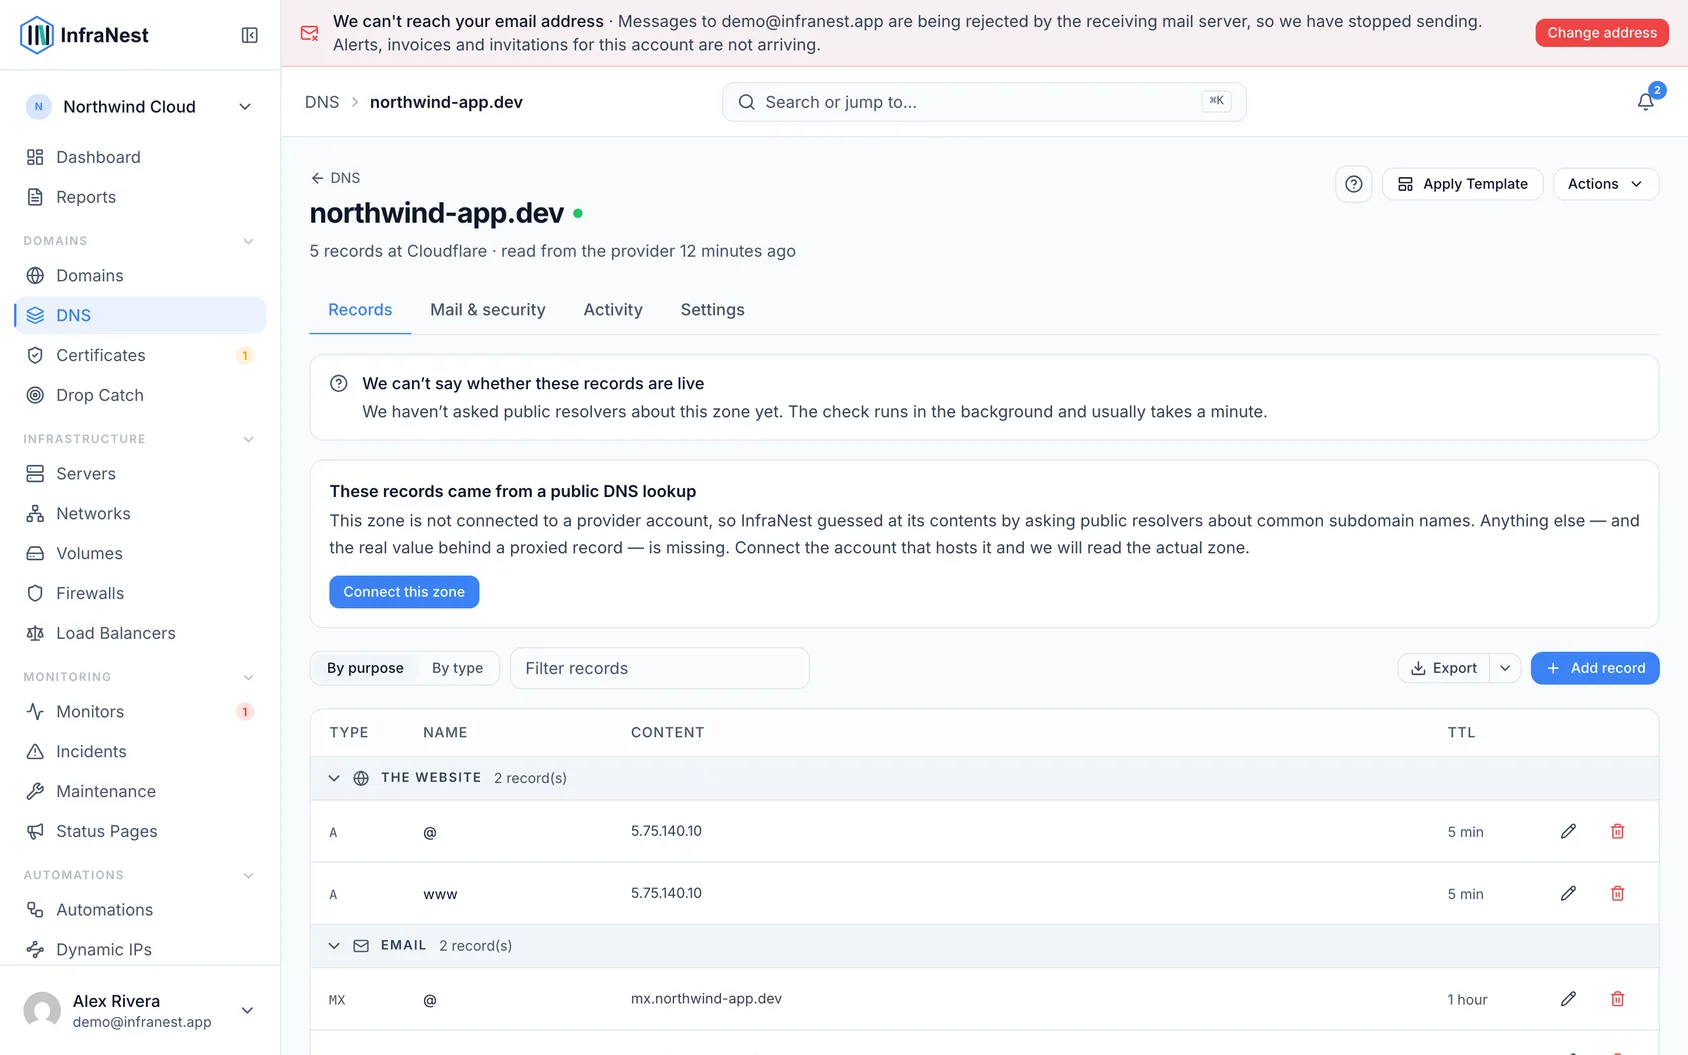
- Use the Records table to add, edit or delete records. The editor shows the right fields for each type — for example Priority for MX, the Proxy setting for Cloudflare, plus TTL and an optional Comment.
- Select Save. The change is pushed to the provider. If the provider rejects it, InfraNest rolls the change back, so the two never disagree.
Fill in the Name field correctly
The Content field holds where a record points, but the Name field only needs the part in front of your domain — not the whole address.
- For the domain itself —
example.com, with nothing in front — leave Name empty. The hint under the field shows which domain that is. - For anything under it, type only the part in front:
wwwforwww.example.com,mailformail.example.com. - If you paste the whole address anyway, InfraNest shortens it for you and tells you what it will save, so you never end up with
www.example.com.example.com.
Point a record at a server
- For A and AAAA records, start typing in the value field and InfraNest offers the servers in your connected cloud accounts.
- If a provider hands out a whole IPv6 block for a server rather than one address, the suggestion reads "first address in 2a01:…::/64" — use that address unless your server was set up with a different one from that block.
- If you paste a range yourself (anything with a
/in it), InfraNest tells you which single address to use instead, since a DNS record can only point at one address.
Checks before you save
InfraNest checks a few things that would otherwise go wrong quietly, and explains them beside the field:
- A CNAME sharing a name with any other record — not allowed, and it behaves differently at every provider.
- A second SPF record on one name — two of them cancel out, and mail providers stop checking altogether.
- An IP range, a port, or a web address typed where a single IP address belongs.
You can save through a caution shown in yellow; the ones in red are records that could not work.
When a record is already there
If the record you are adding already exists in the zone, InfraNest tells you instead of sending it to your provider and passing back a refusal. There are a few versions:
- It is already here. The zone already has a record of this type and name with exactly this value, so adding it again would change nothing. Use Open the existing record if you meant to edit it — to change where it points, or how long it is cached.
- The name is taken. A name can only carry one CNAME (the same goes for ALIAS and DNAME), so a second one would contradict the first. Edit that record instead opens the record that is already there and keeps the target you just typed, so one save finishes the job.
- Your provider has it, we do not. Sometimes a record was added at the provider directly and has not reached this list yet. The provider refuses the new one, and InfraNest offers Sync this zone — that pulls the record in, and you can edit it here like any other.
This is only about records that genuinely clash. Several A records on one name is a normal way to spread traffic across servers, and several MX records is how mail is set up — neither is treated as a duplicate.
Keep a zone up to date
- Sync this zone — pull the latest records from the provider at any time (it also runs on a schedule).
- Copy from another zone — clone another zone's records into this one.
- Re-scan DNS — import records by reading the zone's live DNS.
Troubleshooting
If records are changed at the provider outside InfraNest, the zone is flagged with drift ("records changed outside InfraNest"), so a surprise change never goes unnoticed. Use Sync this zone to bring InfraNest back in line.
TipAny A or AAAA record can follow a changing IP automatically — see Dynamic IPs.
WarningSaving through a red caution means the record could not work — fix it before continuing rather than saving anyway.
Was this article helpful?