

Whether you're setting up InfraNest for the first time or picking up where you left off, this article walks you through getting your workspace ready to use.
Overview
- Signing up starts a short setup wizard that gets your workspace ready.
- You choose what you manage, connect a provider, and InfraNest starts syncing your infrastructure.
- Once you're done (or if you skip ahead), your dashboard shows a getting-started checklist so nothing gets missed.
Set up your workspace
Signing up takes four short steps, and you can skip the last two.
- Create your account — enter your name, email and password, plus a name for your workspace. We fill the workspace name in from your email address, so most people can leave it alone; you can rename it whenever you like, here or later.
- What do you manage? — pick the areas you care about: Domains, DNS, Servers, Monitoring, Drop-catch and Certificates. Your choices decide what we show you first, which providers we suggest next, and the tips you see.
- Connect one thing — link a provider so your domains, servers and records start appearing. The list is ordered by how little work each one is: providers you can connect with a single click come first, then the ones that need a key you paste in. We only read from your provider — nothing there is changed. You can connect more than one here. After each one we confirm what was linked and offer Connect another provider, which takes you back to the list — useful if, say, your DNS is at one company and your servers are at another. Anything already linked is marked Connected. While you're filling in a provider's details, All providers at the top takes you back to the list without leaving the step.
- Done — if you connected something, we take you straight to Setup, where we show what we found and offer to watch it for you. If you skipped, you land on your dashboard with a getting-started checklist.
You can Skip from any step after the first and come back later — nothing is lost.
About your password
We'll tell you the requirements as you type, and there's a Show button if you want to check what you've entered. One rule surprises people, so it's worth knowing: we check new passwords against public lists of passwords stolen in data breaches, and refuse any that appear there — even if it's long enough and has the right mix of characters. If that happens, pick something you haven't used anywhere else. Three or four unrelated words make a strong password that's easy to remember.
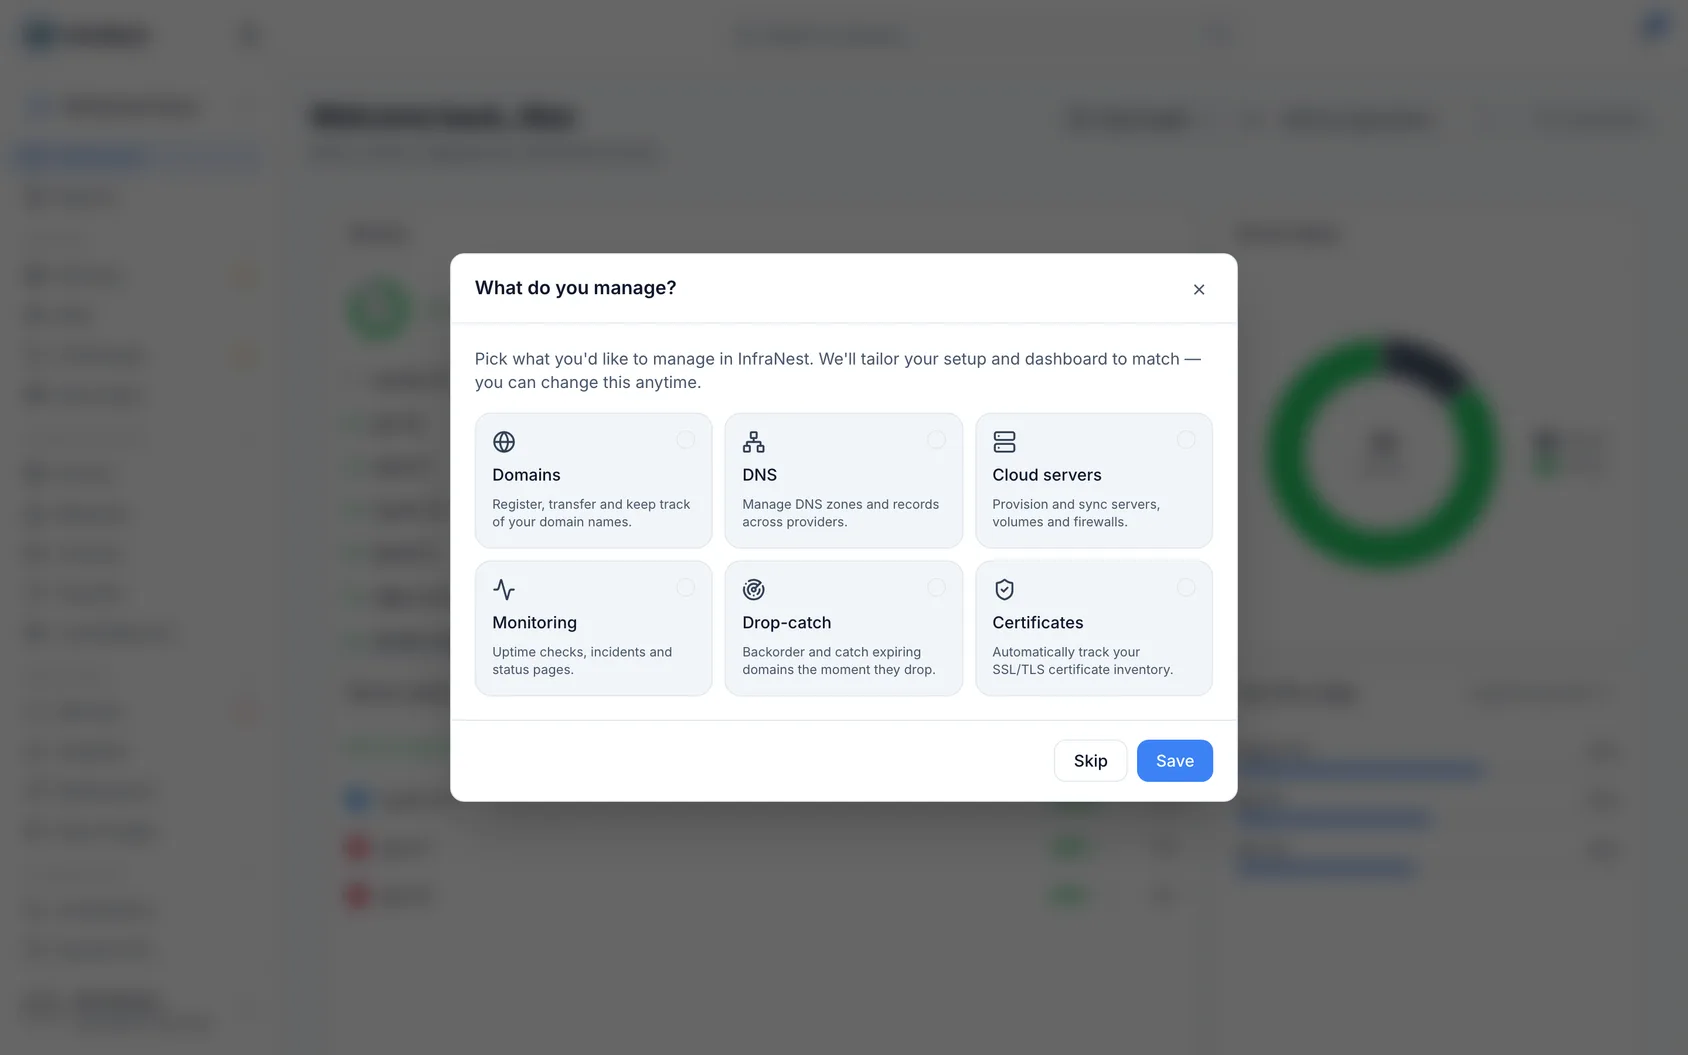
NoteAreas that aren't in your plan still appear, marked with an Upgrade badge, so you can see what else is available.
Finish setting up from your dashboard
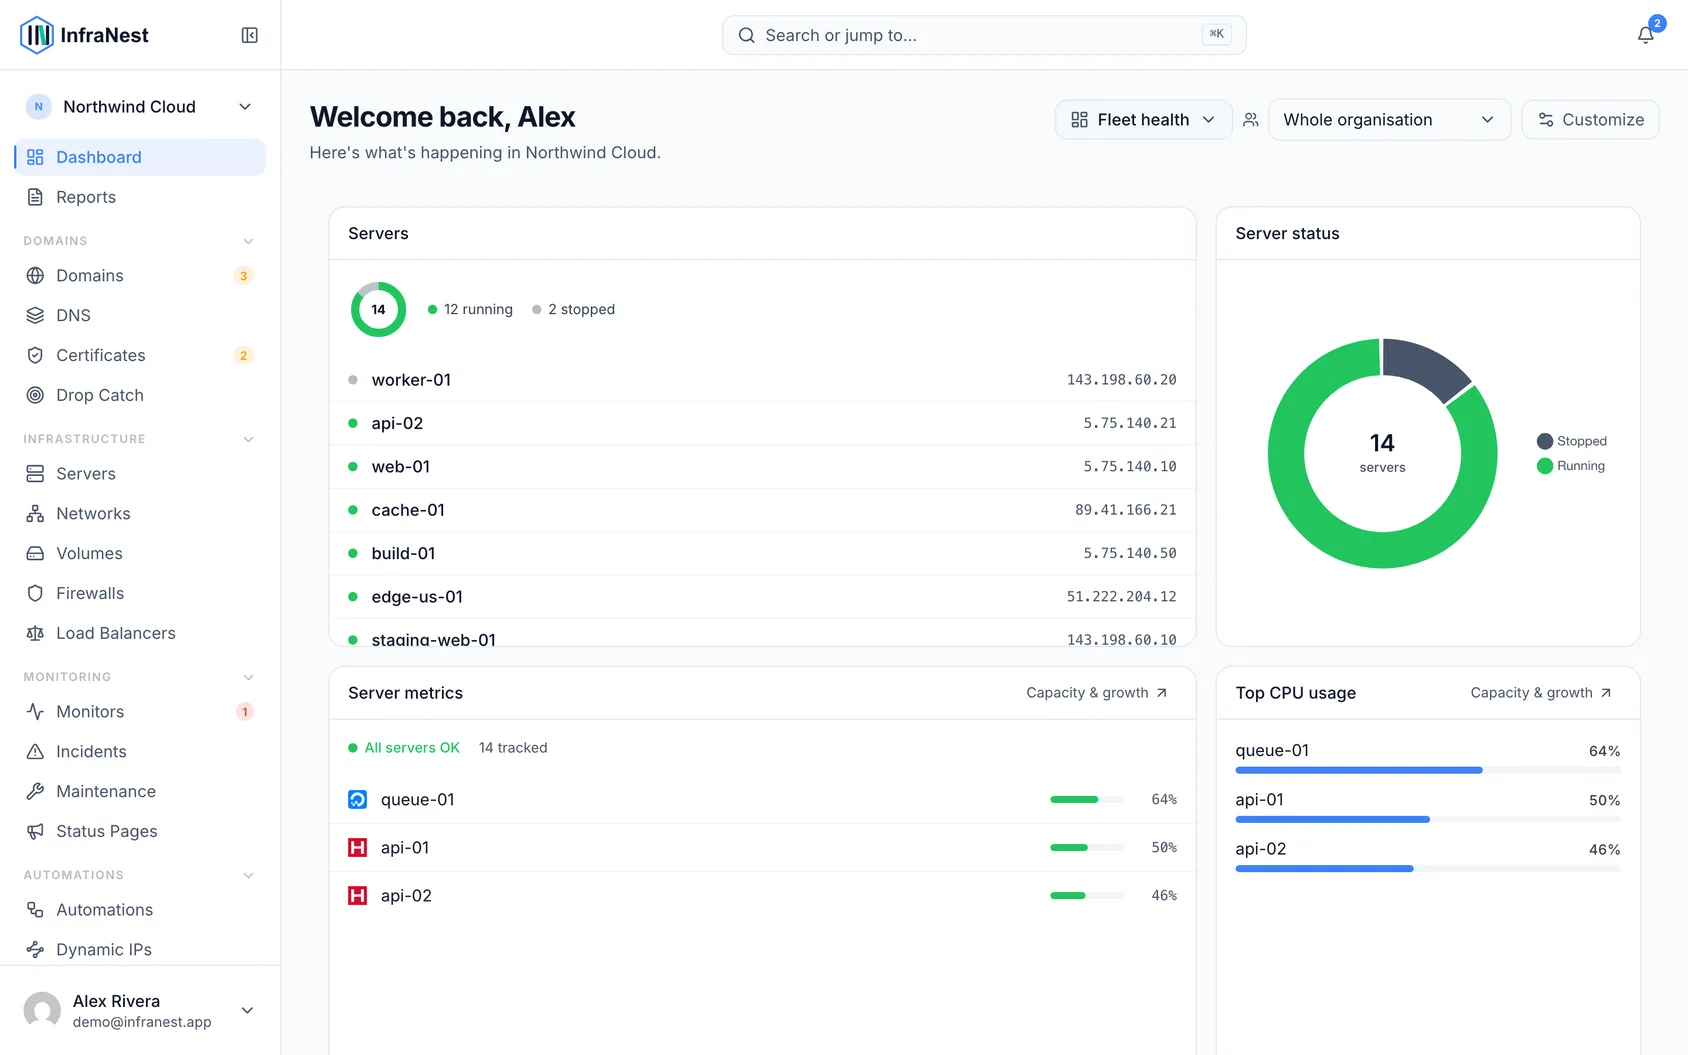
After the wizard, your Dashboard shows a short getting-started checklist to guide you:
- Connect an integration
- Add a domain
- Set up a DNS zone
- Add a monitor
- Set up notifications
- Watch a dropping domain
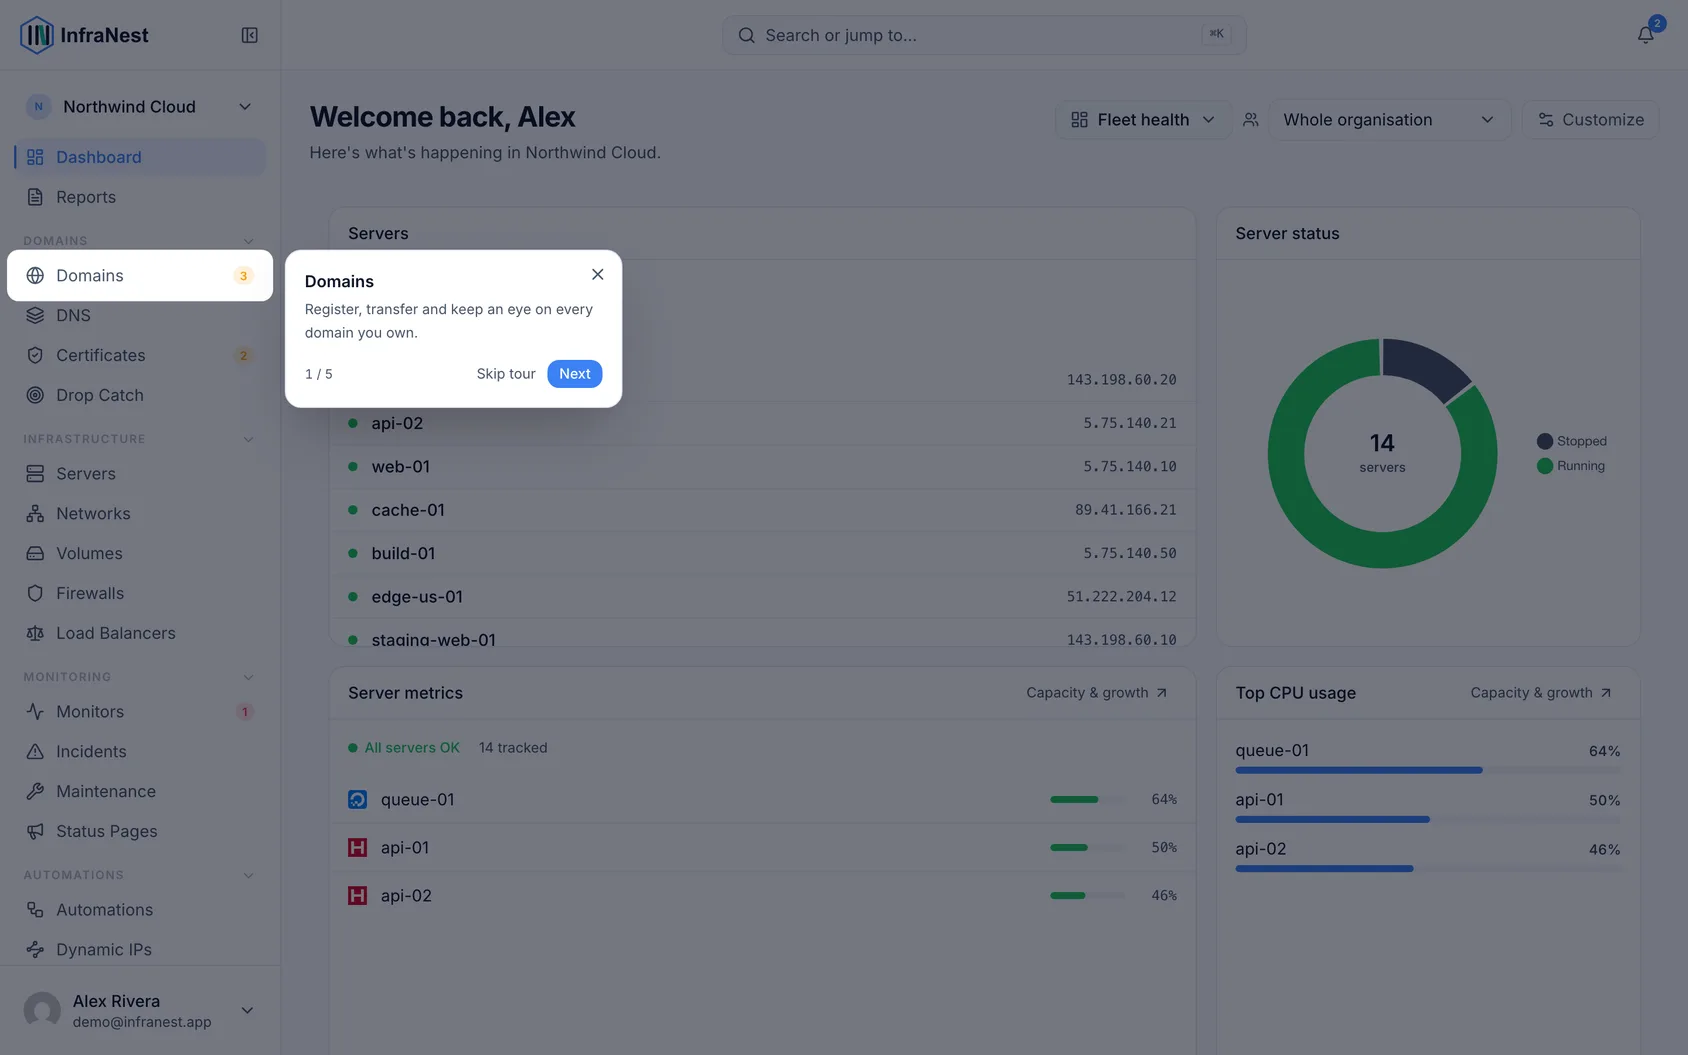
There's also a Tips panel and a one-time tour of the main menu. All of it is optional and dismissible, and it disappears once you're set up. The checklist remembers where you left off.
Invited, or signing in with Google or GitHub?
- If you join through an invite or sign in with Google or GitHub, you'll skip the full wizard.
- You'll still see the What do you manage? picker once, on your first sign-in, so InfraNest can tailor things for you.
- Your workspace is named from your email address in this case too — you can rename it in Settings whenever you like.
TipIf you're not sure where to start, use the getting-started checklist on your Dashboard — it remembers your progress and covers all the essentials.
Next steps
- Connect an integration to start syncing your infrastructure.
- Check Your free trial to see what's included and how long you have.
Was this article helpful?