

Dashboards let you see the information that matters most to you at a glance, and this guide shows anyone — no technical background needed — how to set one up.
#Overview
- Choose which widgets appear on your dashboard and arrange them however you like.
- Start from a ready-made layout or build your own from scratch.
- Create multiple dashboards for different purposes, like one for domains and one for servers.
- Changes save automatically as you make them.
#Customize your dashboard
- Go to your Dashboard.
- Select Customize to start editing.
- Add a widget from the list — there are charts, counts and status tiles for different parts of InfraNest.
- Drag a widget to move it, and drag its edges to make it bigger or smaller. On a phone, widgets stack into a single column automatically.
- When you're happy, turn off Customize. Your layout saves on its own — there's no separate save button.
#Start from a preset
Not sure where to begin? Pick a ready-made layout when you create a dashboard:
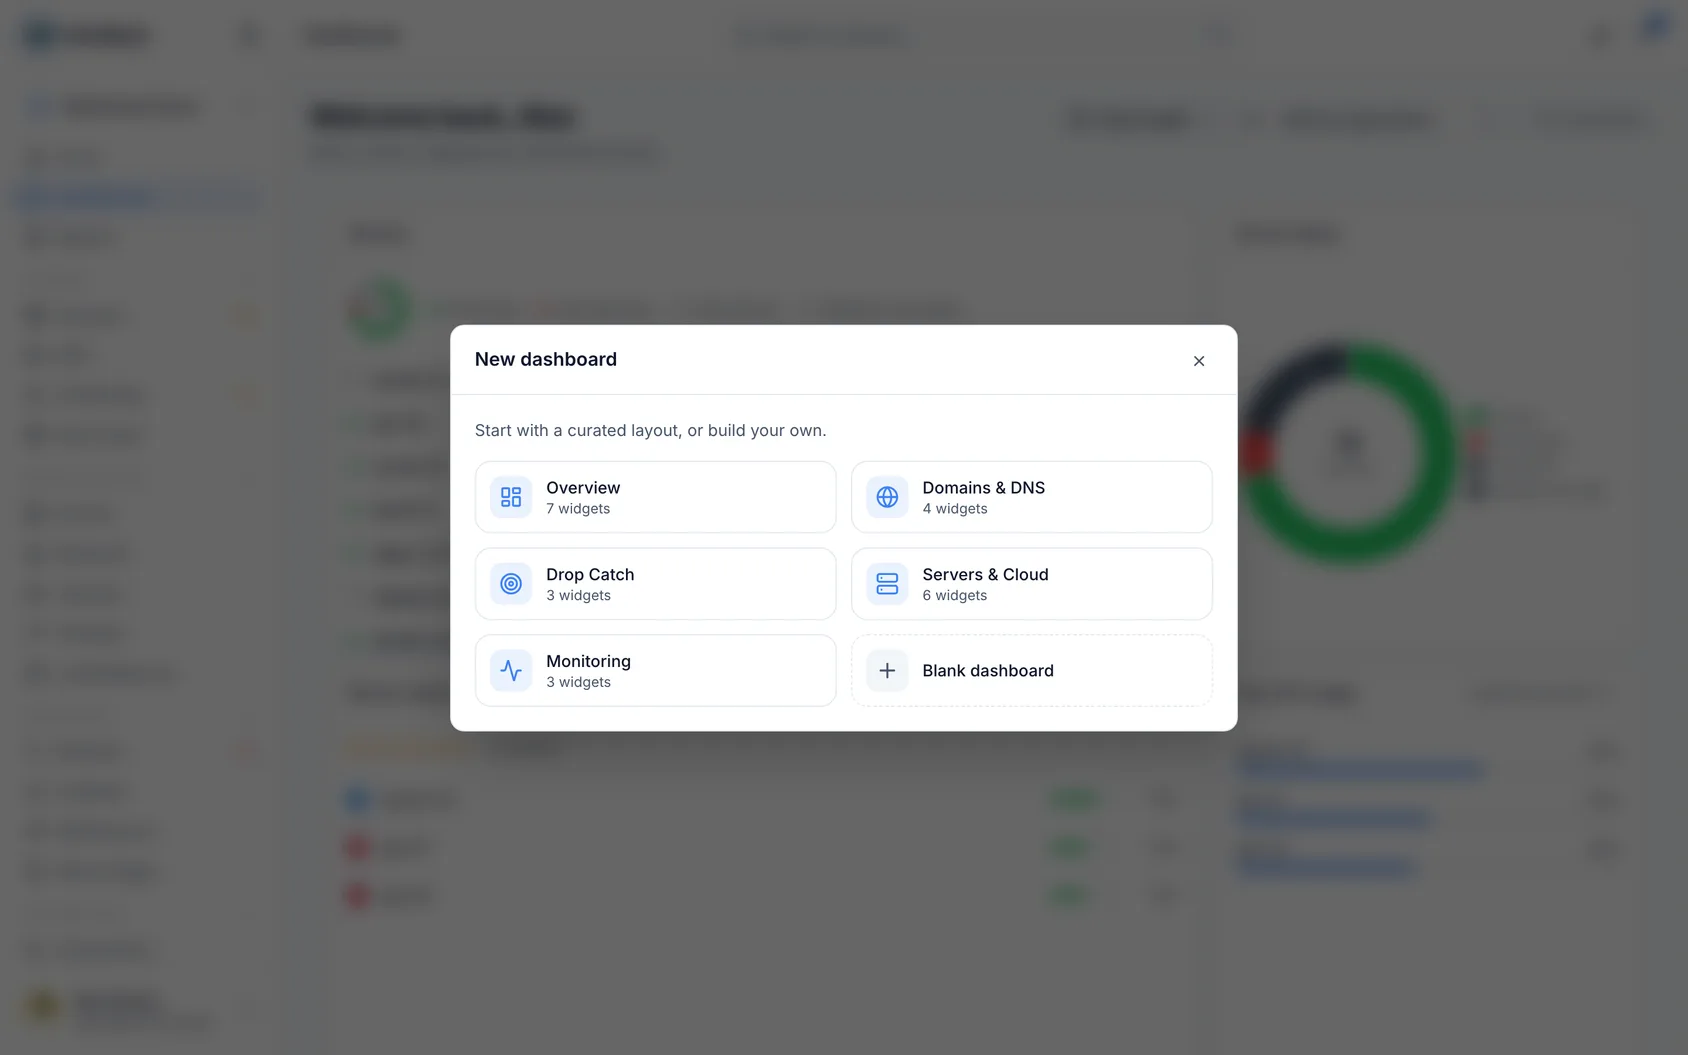
- Overview — a bit of everything.
- Domains & DNS, Drop Catch, Servers & Cloud, Monitoring — each focused on one area.
Then tweak it however you like.
#Create another dashboard
You can have several dashboards — for example, one for domains and one for servers.
- Create a new dashboard and give it a name and an icon.
- Set one as your default so it opens first when you sign in.
NoteYou can create up to 20 dashboards.
#Change the date range
Some widgets show trends over time. Use the date range at the top of the dashboard to switch between the last 7 days, 30 days, 90 days or 12 months. This control only appears when you have a time-based widget on the dashboard.
#Tips
- Your changes save automatically as you go — no need to look for a save button.
- To let others use your dashboard, see Share a dashboard.
Was this article helpful?
Thanks for your feedback!
Thanks, this goes straight to the docs team.
Still stuck? Contact support
Related articles
DashboardsAbout dashboardsDashboards are overviews you build yourself — your domains, servers, monitors and more, laid out the way you want.Getting startedGetting helpHelp is built into InfraNest — you can read guidance for whatever page you're on without leaving it.Getting startedGetting started with InfraNestWelcome to InfraNest. When you sign up, a short setup wizard gets your workspace ready, and Home then guides you through the first few things to do.Getting startedHome — what needs you right nowHome is the page you land on when you sign in. It tells you, in one sentence, whether anything needs you — and if something does, which thing to do first.