

Keep your Dynamic IP record current by having a computer on the same connection check in automatically, on a schedule — useful when your router can't do this itself. This is for anyone whose router doesn't support dynamic DNS but who has a laptop, NAS or small server that's usually switched on.
Overview
- Any computer on the connection can report the address, since what gets recorded is the connection's address, not the computer's own.
- Pick a machine that's usually on — a laptop, a NAS or a small server all work equally well.
- The update runs in the background on a schedule you set, using a command copied from InfraNest.
Get the command
- Open Dynamic IPs, select your Dynamic IP, then go to Setup.
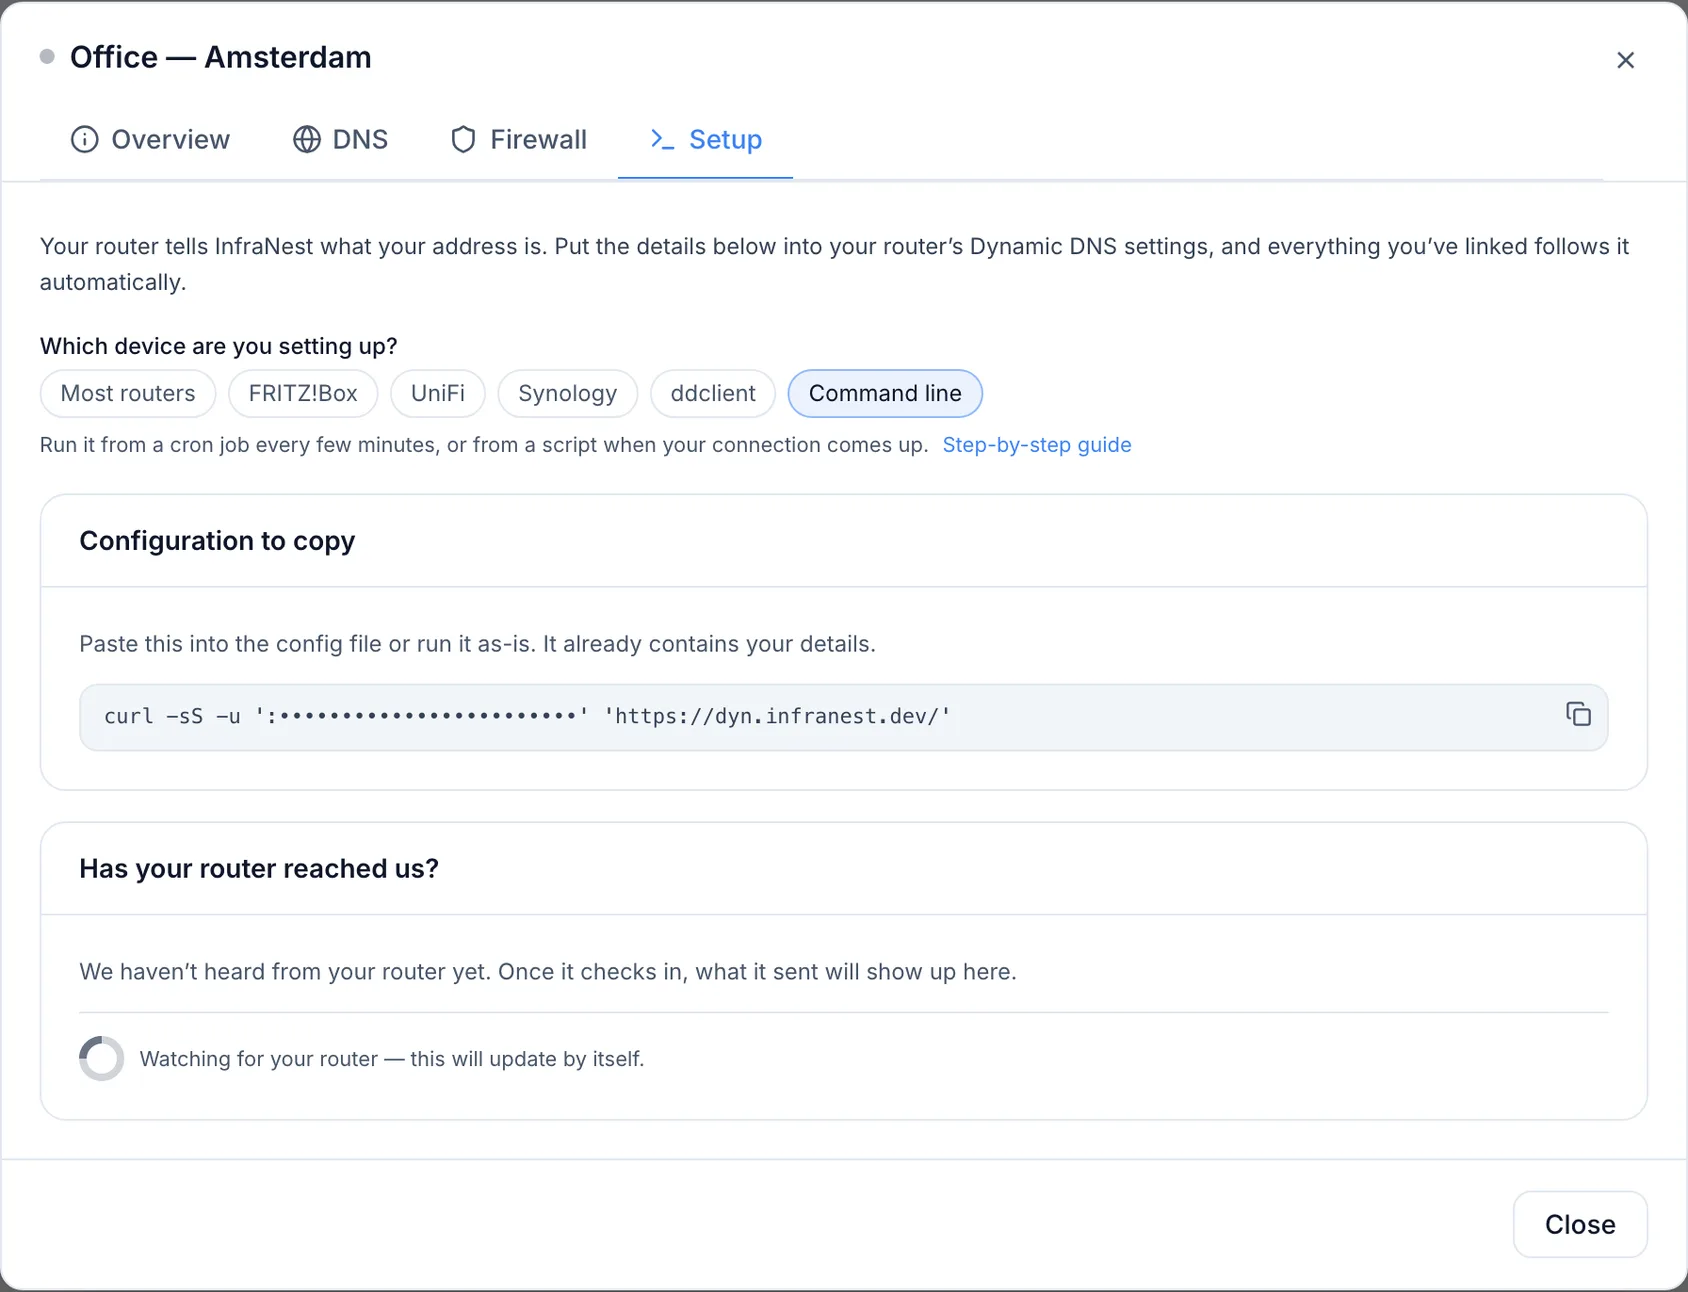
- Choose Command line at the top of the page.
- Copy the complete command shown — it already includes your details. You'll paste it into a scheduler below.
- Optionally, run it once to confirm everything works — this updates your address immediately, before you schedule it.
NoteThe command contains your password. Anyone who can read the file or task you save it in can use it, so keep it somewhere only you can read.
How often to run it
Every five minutes is a sensible default. Calling more often achieves nothing — updates only happen when the address actually changed — and calling much less often means a longer gap between your address changing and your records catching up.
Schedule it on Linux (cron)
- Run
crontab -e. - Add a line like:
*/5 * * * * curl -sS -u 'USERNAME:PASSWORD' 'https://YOUR-SERVER/' >/dev/null 2>&1
- Replace the whole
curl …part with the command copied from the Setup tab. - Save and close the file — cron picks it up straight away.
- To confirm it's running, temporarily remove
>/dev/null 2>&1and check your mail or the cron log. A working call replies withgoodfollowed by your address, ornochgif it hasn't changed.
Schedule it on macOS (cron)
macOS still has cron, and it's the simplest option — the Linux instructions above apply exactly.
If you'd rather use launchd, Apple's preferred scheduler:
- Create a Launch Agent file in
~/Library/LaunchAgents/. - Have it run the same command, with
StartIntervalset to300. - Load it with
launchctl load.
Both approaches work; cron needs less setup.
NoteOn a laptop, neither scheduler runs while the machine is asleep. That's usually fine, since nothing needs updating while you're not connected, but the first update after waking may take a few minutes.
Schedule it on Windows (Task Scheduler)
Windows has no built-in dynamic DNS client, so a scheduled task is the way to go.
- Open Task Scheduler and choose Create Task (not the basic wizard — you need the extra options).
- On the General tab, tick Run whether user is logged on or not.
- On the Triggers tab, add a trigger: At startup, then tick Repeat task every 5 minutes for a duration of Indefinitely.
- On the Actions tab, add an action that starts
powershell.exewith arguments along these lines, using the values from the Setup tab:
-NoProfile -WindowStyle Hidden -Command "Invoke-WebRequest -Uri 'https://YOUR-SERVER/' -Credential (New-Object PSCredential('USERNAME',(ConvertTo-SecureString 'PASSWORD' -AsPlainText -Force))) -UseBasicParsing"
- Select Save. Windows will ask for your account password so the task can run in the background.
- Use Run on the task once to confirm it works, then check the Setup tab — it should show the check-in within a few seconds.
Confirm it's working
- Go back to the Setup tab.
- Look at Has your router reached us?. It shows when the last call arrived, from which address, and whether the password was right.
- Leave the tab open — it updates by itself.
Tips
TipRun the command once by hand before scheduling it — it's the fastest way to confirm your details are correct.
Was this article helpful?