

Tags let you label servers, domains, monitors, and 13 other kinds of resources with a name and colour — then use that label to filter lists, group reports, and scope dashboards. This article is for anyone organizing their InfraNest estate by team, customer, or environment rather than by type or provider.
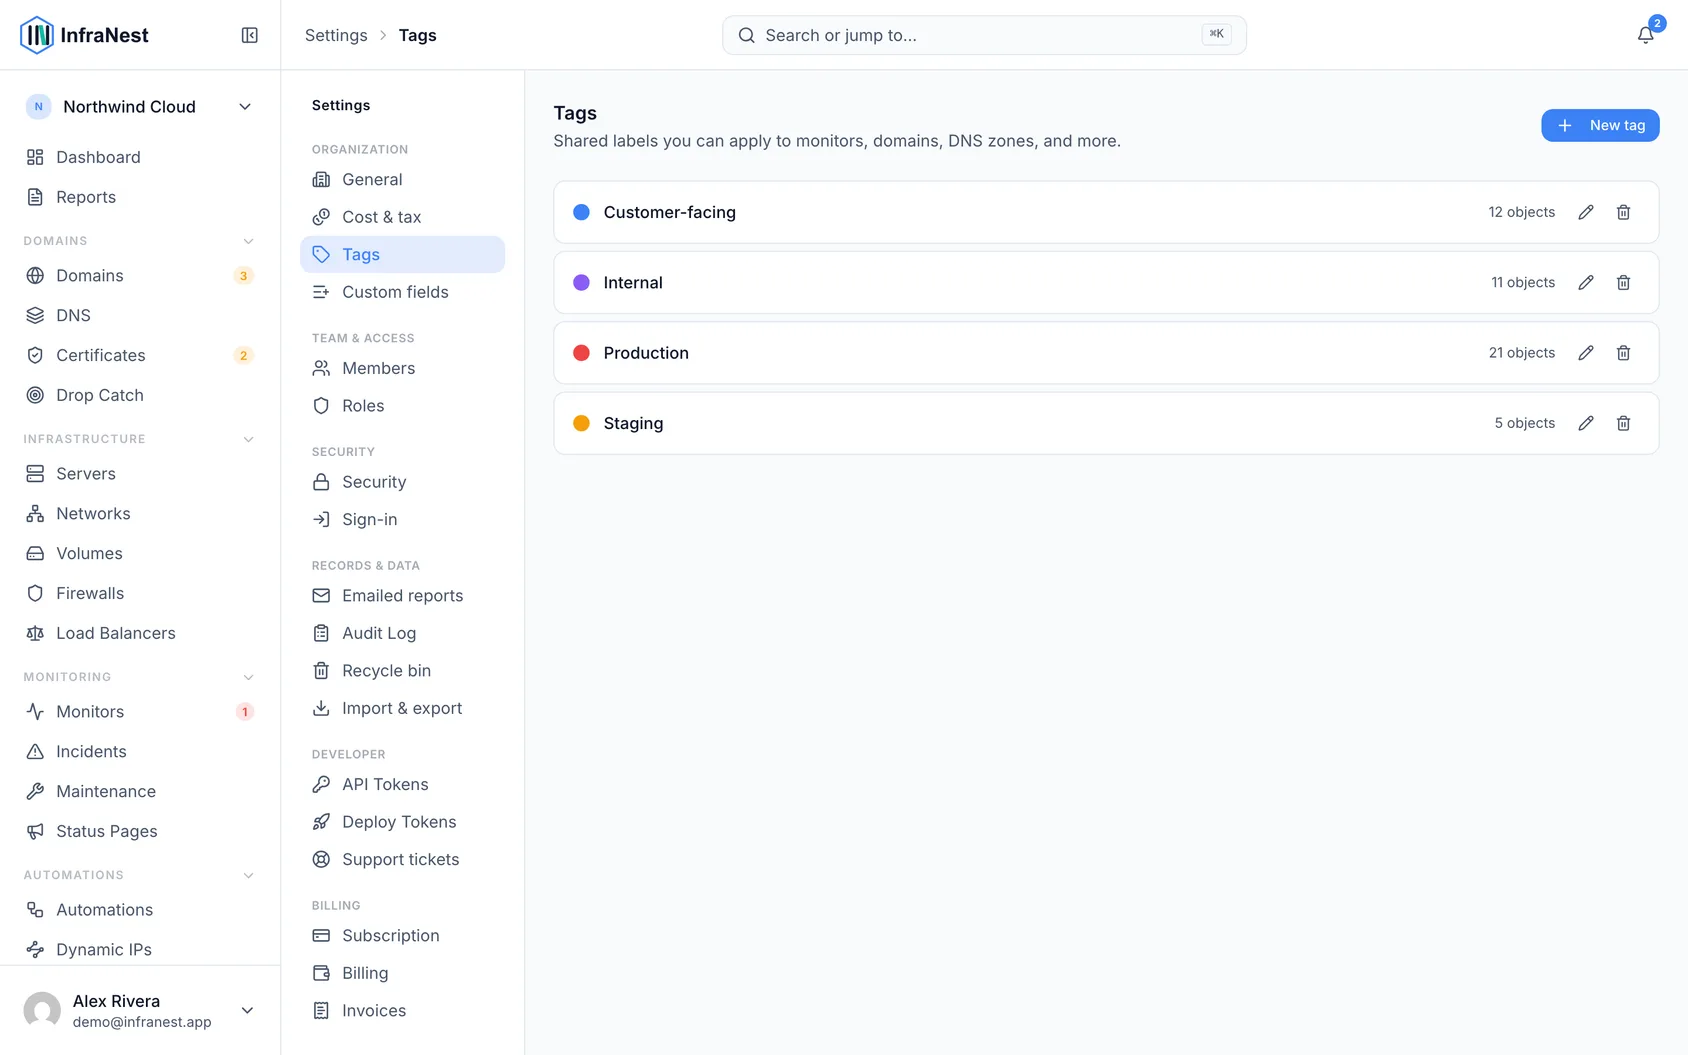
Overview
- A tag can be attached to sixteen kinds of objects — servers, domains, DNS zones, certificates, monitors, volumes, firewalls, load balancers, networks, IP addresses, contacts, watched domains, maintenance windows, dynamic IPs, automations and incidents.
- Tags describe things that nothing else in InfraNest can group together — like "Production" or "Customer-facing" — since those aren't a provider, a type, or a location.
- Once applied, a tag becomes a filter on every list, a grouping option on every report, and a way to scope a dashboard to one part of your estate.
- A tag can optionally carry an uptime target that InfraNest checks against automatically.
Create a tag
- Go to Settings, then open Tags.
- Select New tag.
- Give it a name.
- Choose a Color, or select Custom color for something specific.
- If the resources this tag will describe have an uptime commitment, fill in the Availability target (optional) field.
- Select Save to finish, or Cancel to discard it.
TipKeep your tag vocabulary small. If two people create both "prod" and "production," your resources end up split across two tags instead of grouped under one.
Apply a tag to a resource
- Open the resource you want to tag — for example, go to Servers and select one from the list.
- Find the Tags field on the resource's own page.
- Select the tag you want from the list, or start typing to search for it.
- The tag is applied immediately.
You can also apply a tag to several resources at once by selecting multiple rows in a list and using the bulk tagging action.
Filter a list or report by tag
- Open any list — such as Servers, Domains, or Monitors.
- Select Filter.
- Choose the tag you want to filter by.
- The list now shows only resources carrying that tag.
To group a report by tag instead:
- Open the report you want — for example, Reports.
- Look for a grouping option and choose Tag.
- The report now breaks down its figures by tag, so you can see totals for just the resources labelled, say, "Marketing site."
Tips
- Tag what you'll actually want to filter by later — a tag applied to everything filters nothing.
- Prefer tagging by what a resource is for (team, customer, environment) rather than what it is — type, provider, and location are already covered elsewhere.
Troubleshooting
- A resource isn't showing up under a tag filter — double check the tag was actually saved on that resource's own page; applying a tag from a list's bulk action can sometimes be missed if the selection wasn't confirmed.
- An uptime target doesn't seem to be checked — only tags with an Availability target (optional) filled in are compared during the account review. Tags without a target are ignored by design.
Was this article helpful?
Related articles
Put your own brand on what we sendAlerts, domain notices and status-page updates can carry your logo, your colour and your name instead of ours — so the people you look after see your…Invite your teamInvite teammates to your organisation and give each the right level of access.Manage your organizationEverything in InfraNest — domains, servers, members, billing — belongs to an organisation. You can belong to more than one and switch between them.The monthly recap emailOnce a month InfraNest emails your workspace a short summary of what it did for you — and it sends whether the month was busy or quiet.