

Send InfraNest alerts to any email address you choose — the simplest destination to set up, since it needs nothing from another service.
Overview
- Email is the easiest destination to connect: no webhook, bot, or key required.
- Just enter the address alerts should go to, and you're set.
- Works well for shared team inboxes, or a personal address that forwards to your phone for anything urgent.
Connect email
- Go to Alerts, then open Destinations.
- Select Add destination and choose Send alerts to any email address.
- Enter the Email format address alerts should go to (for example, [email protected]).
- Select Send test to send a test message and confirm it arrives.
- Select Save & test.
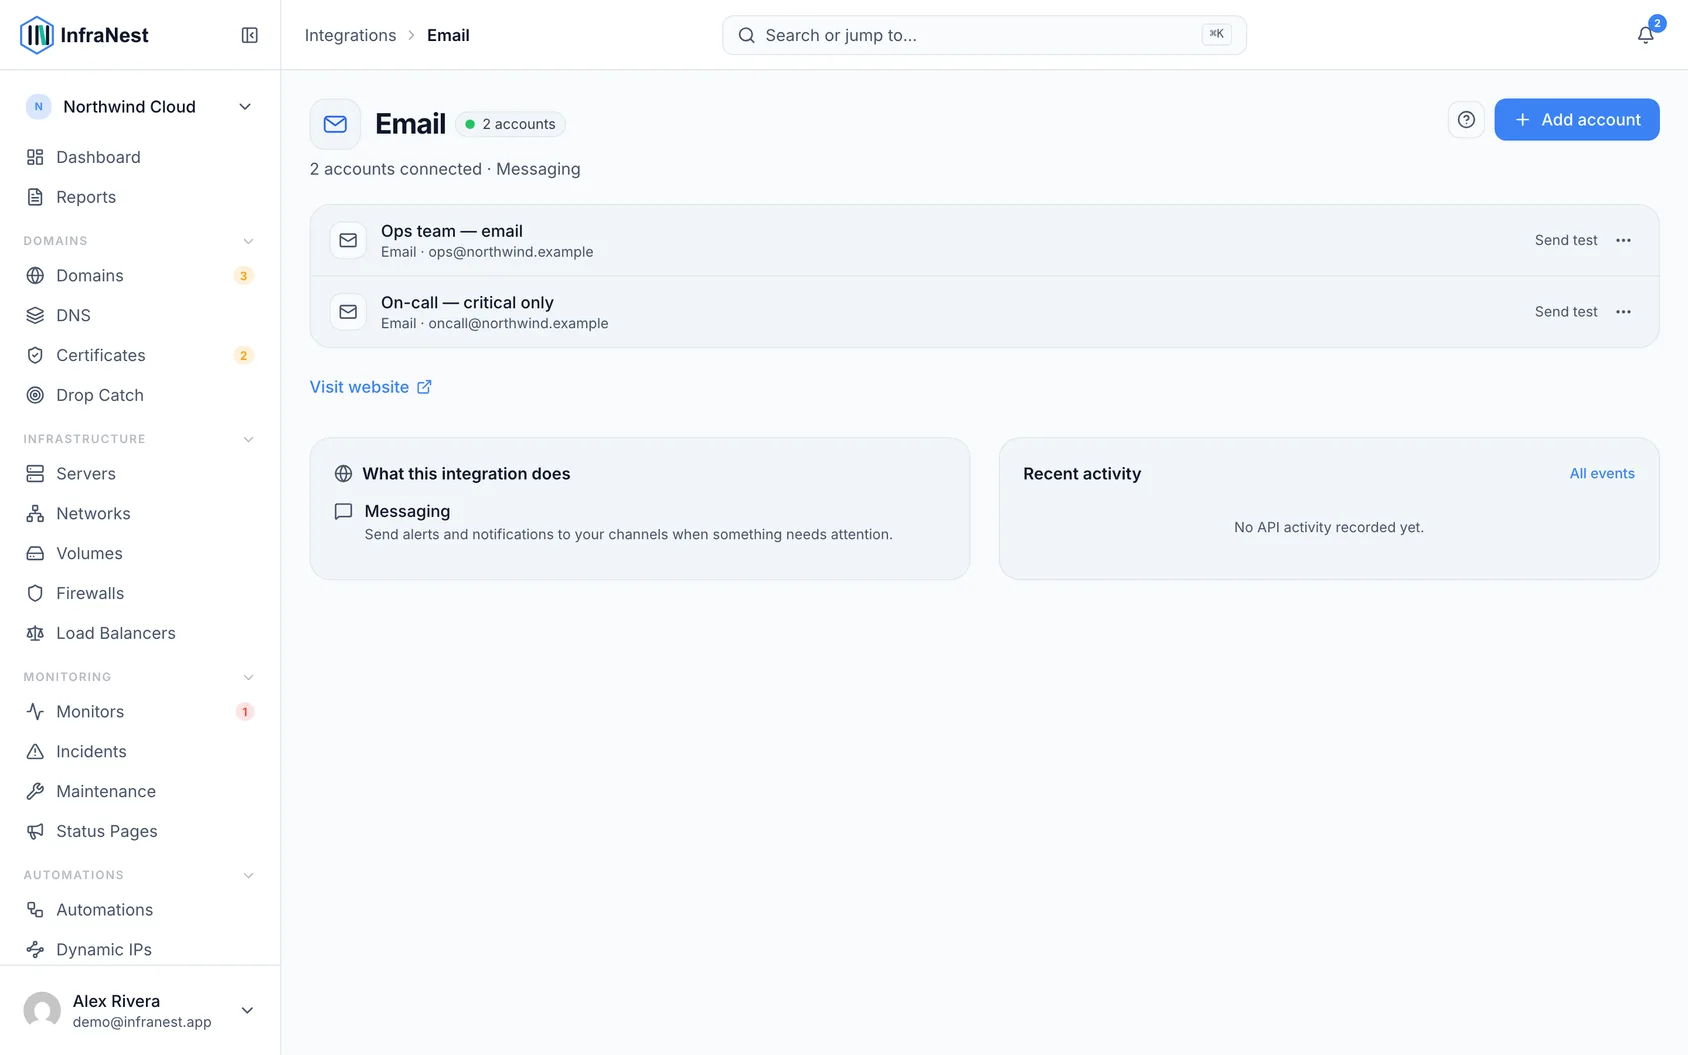
Send alerts to email
- Once the destination is saved, it appears as an option wherever you choose which alerts go where.
- Select your email destination when setting up Notify me when… for a monitor, server, DNS zone, or domain.
- Routing is chosen per object, so each one can send to a different address if you like.
TipUse an address you actually watch. A shared team inbox works well; a personal address that forwards to a phone works better for anything urgent.
Tips
- One destination sends to one address. Add another destination for a second recipient, or point it at a distribution list your mail provider manages.
- This is separate from your personal notification preferences. Changing which emails you receive as a user is done in your account settings — a destination is about where an organisation's alerts go.
Troubleshooting
NoteIf a test never arrives, check your spam folder first, then confirm the address is spelled correctly. Mail providers sometimes hold the first message from a new sender.
Was this article helpful?