

Connect your IONOS account to InfraNest so you can manage DNS, domains and SSL certificates all in one place. This is for anyone using IONOS as their domain or DNS provider who wants it working with InfraNest.
Overview
- Links your IONOS account to InfraNest using an API key.
- One connection covers three features: DNS, Domains and Certificates.
- Once connected, your IONOS zones, domains and certificates show up inside InfraNest.
Before you start
You'll need an IONOS API key (the full prefix.secret value). See Create an IONOS API key for the steps. The same key covers DNS, domains and certificates.
Connect IONOS
- Go to Integrations and open IONOS.
- Give the connection an Account label (this is optional). If you leave it blank, it takes the provider's name — a second connection to the same provider becomes "… (1)", so you can tell them apart.
- Choose which features to use it for: DNS, Domains and Certificates.
- Paste your full API key (
prefix.secret). - Leave Email me when this integration has problems ticked if you'd like email warnings.
- Select Connect.
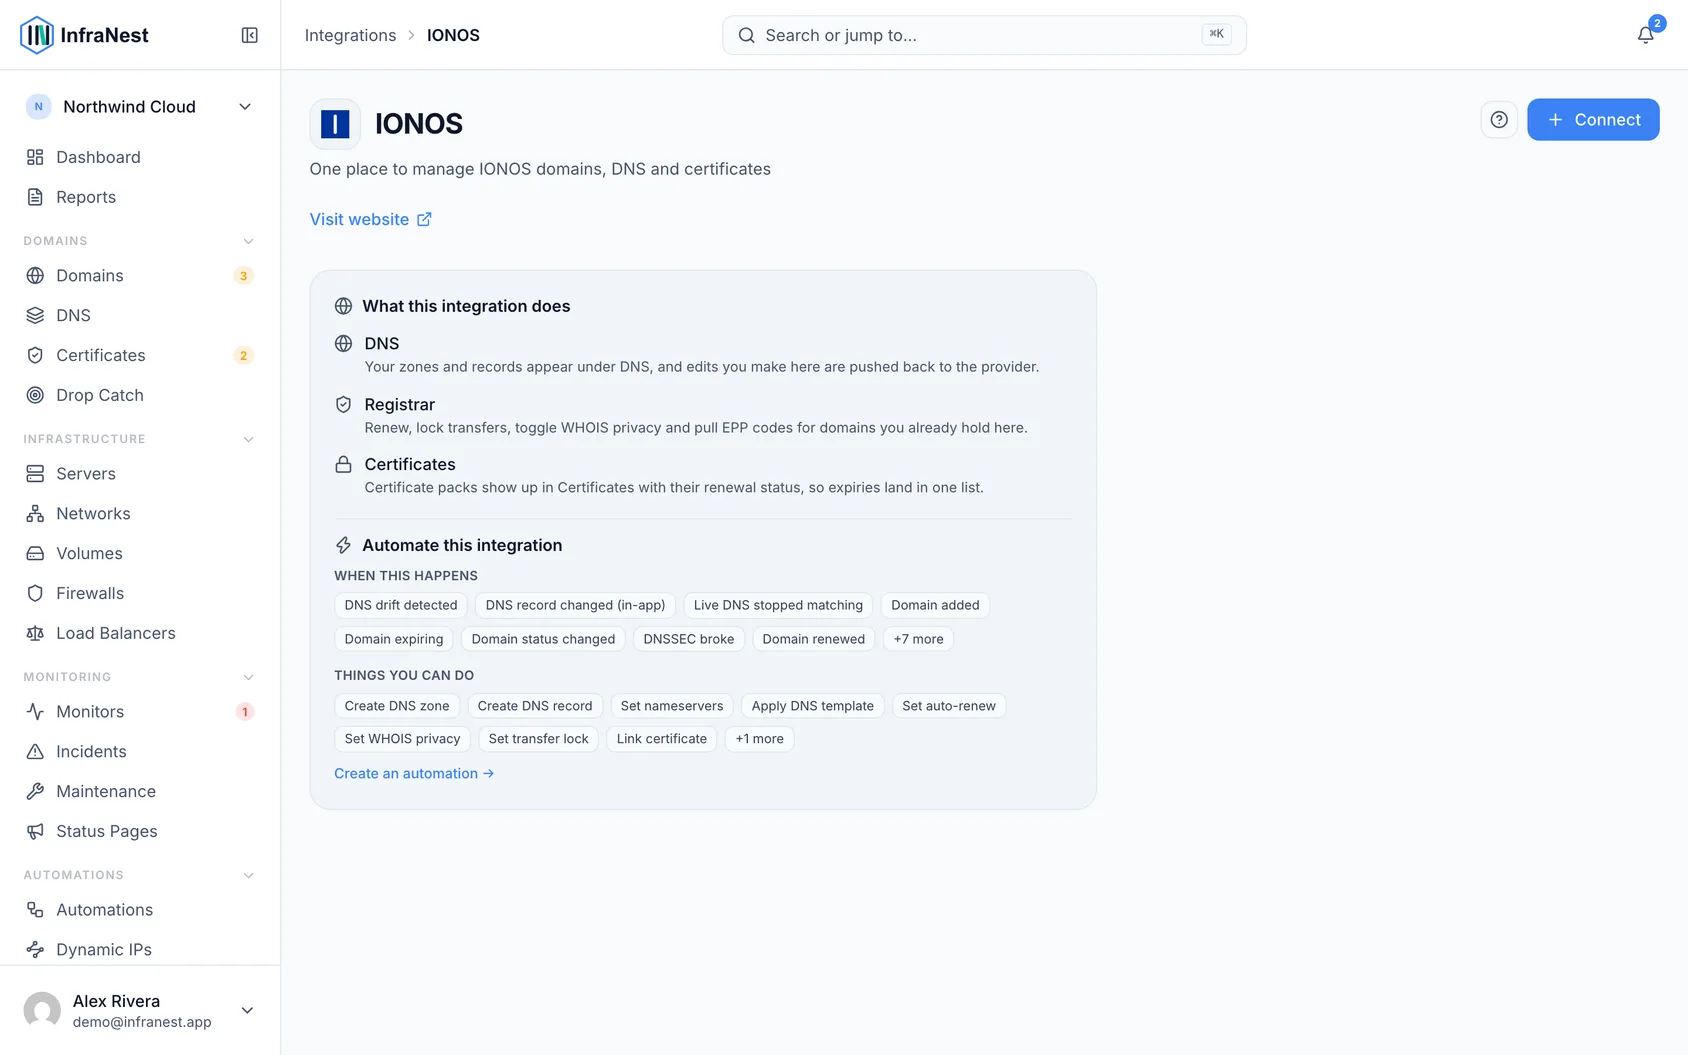
What you get once it's connected
- DNS — view and edit your zones and records.
- Domains — renew, manage nameservers and contacts, lock transfers, turn WHOIS privacy on or off, and get the transfer (EPP) code.
- SSL certificates — your IONOS certificates appear in your certificate list.
NoteRegistering a new domain or transferring one in is done in the IONOS control panel — those actions aren't available through this connection.
Troubleshooting
- "Authentication failed" — make sure you pasted the whole key, including the part before the dot (
prefix.secret), and that it's still active in IONOS.
TipThere's no auto-renew toggle or DNSSEC option through this connection, so continue managing those directly in IONOS if you need them.
Was this article helpful?