

Change your InfraNest subscription at any time — this article covers how to switch plans, what you're charged when you switch mid-cycle, and what happens to anything over your new plan's limits.
Overview
- Move up or down between plans at any point, with the cost difference calculated automatically.
- Every paid plan includes a one-time 14-day free trial per organisation.
- Downgrading never deletes anything — items over your new limit are locked, not removed.
Choose a plan
- Go to Settings → Billing, or select Upgrade your plan wherever you've hit a limit.
- Compare the plans — each shows what's included and what your usage is now.
- Pick monthly or yearly billing.
- Select the plan and select Confirm.
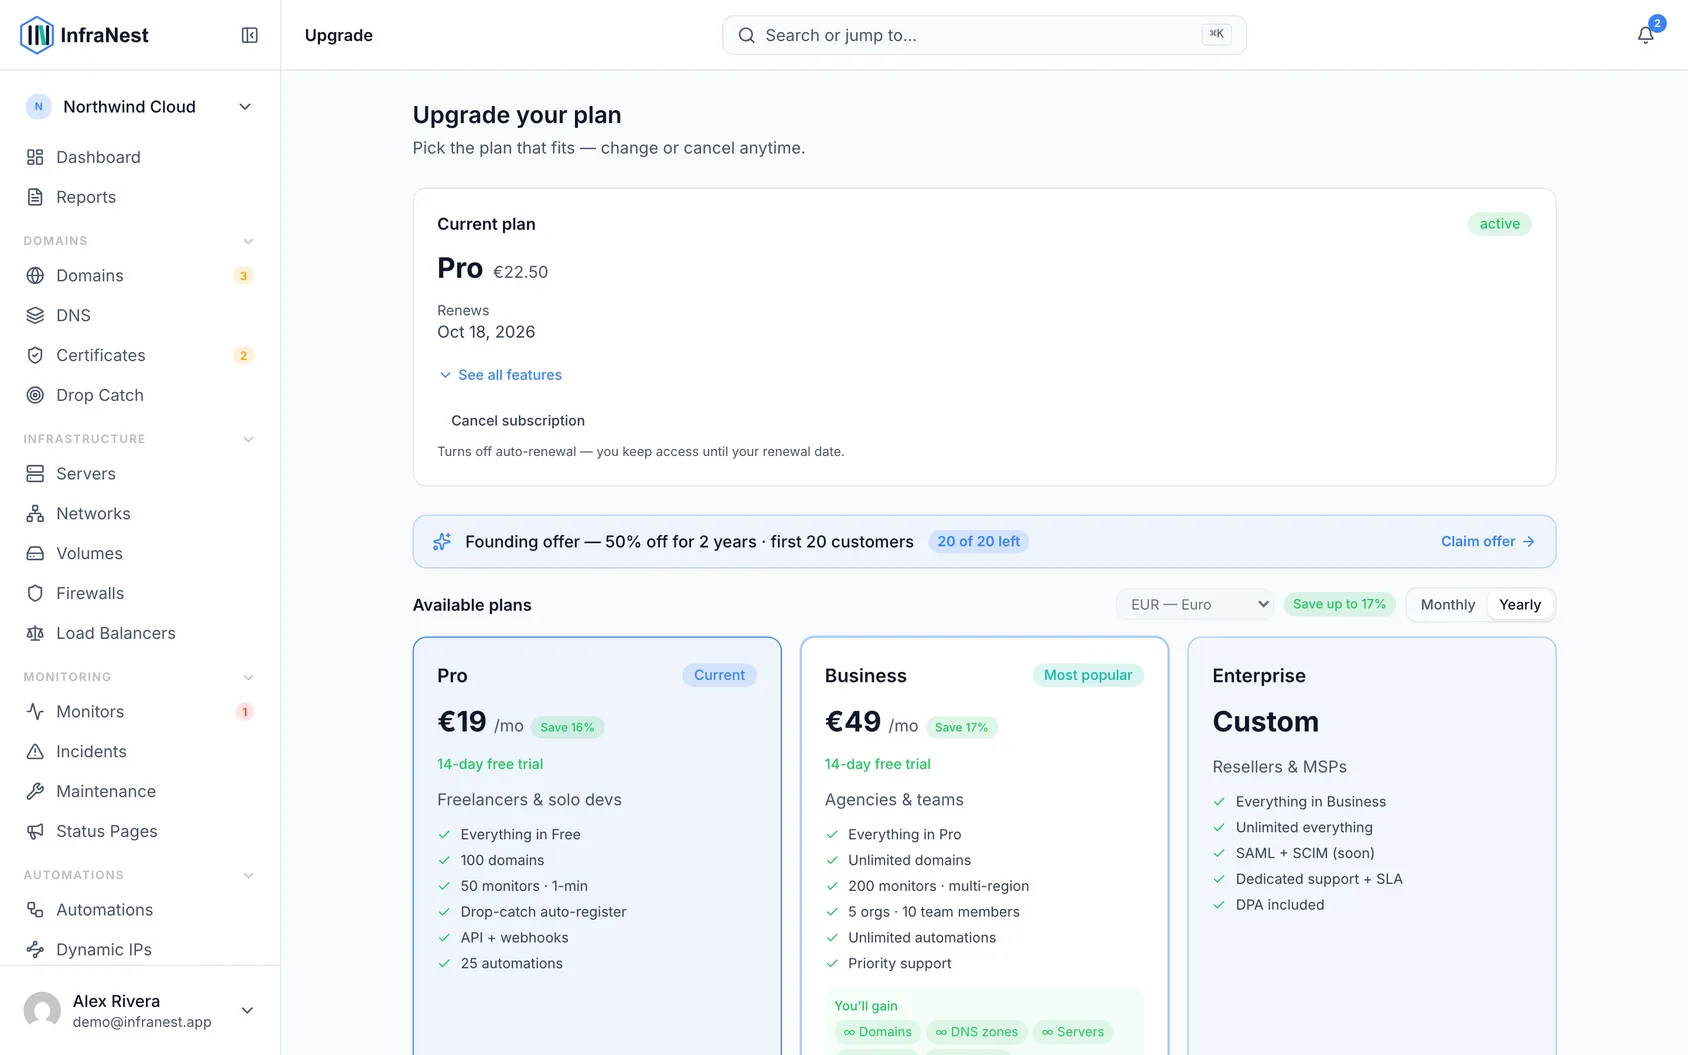
If you reached this from a locked feature, you'll come back to what you were doing once the change goes through.
If you haven't used your free trial yet
- Check the confirmation screen when you select a plan — if your trial is still unused, it will say so.
- Note the date shown: your trial starts today and runs free until then.
- Add a card when asked, so the plan can continue automatically after the trial ends.
- Cancel before the trial end date if you don't want to continue — nothing is charged during the trial, and cancelling in time means you pay nothing at all.
If you've already used your trial for this organisation, the plans won't offer one again — the confirmation will simply tell you what you'll pay and when.
Switch plans mid-cycle
- Go to Settings → Billing.
- Select the new plan you want.
- Review the amount shown — changing mid-cycle is prorated, so you're charged for the part of the period you'll spend on the new plan, minus what you already paid for the part you won't use on the old one. The exact amount is always shown before you confirm.
- Select Confirm to complete the change.
Moving from monthly to yearly billing works the same way, just applied over the longer period.
NoteUpgrading takes effect immediately. New limits apply as soon as payment goes through, and anything that was locked or paused because of your old plan comes back on its own.
Downgrade your plan
- Go to Settings → Billing.
- Select the smaller plan you want to move to.
- Review what happens to anything over the new limits — nothing is deleted. Excess items are locked instead: they stay in your account, stop being synced or checked, and come straight back if you upgrade again. The oldest items are kept, and the newest ones are the ones locked.
- Select Confirm to complete the downgrade.
Monitors above your new limit stop running, which also means they stop alerting — worth checking before you confirm a downgrade.
NoteTeam seats are shared across the organizations on your billing account, not counted per organization. The same person in two organizations counts once.
Cancel your subscription
- Go to Settings → Billing.
- Select Cancel.
- Confirm — your plan stays active until the end of the period you've already paid for, then drops to the free plan. It doesn't stop mid-cycle.
Troubleshooting
A payment failed and my limits changed unexpectedly If a payment fails, we retry it automatically and email you. While it's unresolved, your plan may be reduced, which can look like limits suddenly applying.
- Go to Settings → Billing.
- Update your card details.
- Once the payment clears, your plan is restored automatically.
Was this article helpful?