

InfraNest does the copying and the nameserver change through your providers' APIs. What's left is the order, and the three places a DNS move still goes wrong: DNSSEC, records a copy can't see, and changing things while the switch spreads.
Before you start
- Access to the old DNS provider, the new DNS provider and the registrar, with API tokens that can make changes
- A new DNS provider that can host zones for domains registered elsewhere, such as Cloudflare or Hetzner
- A day of lead time if the domain uses DNSSEC
- 1
Step 1
Connect the old provider, the new provider and the registrar
A DNS move goes wrong in the gaps between three control panels. With all three connected, InfraNest reads the real record list at the old provider, creates the zone at the new one and changes the nameservers at the registrar. Nothing gets retyped, and no step happens somewhere you can't see.
In InfraNest
Add each one under Settings → Integrations. Check that the new provider can host a zone for this domain: GoDaddy, TransIP, Namecheap, Dynadot and Porkbun only run DNS for domains registered with them, and OVHcloud needs the zone ordered in its own panel first. The zone wizard greys these out and says why.
- 2
Step 2
Save a copy of the old zone
Before you change anything, keep a copy of what works today. If something turns out to be missing next week, you can see exactly what was there.
In InfraNest
Open the zone under DNS, then Actions → Download zone file. Leaving Cloudflare? Proxied records in the file show your real origin address, not Cloudflare's. That origin address is the one you want after the move.
- 3
Step 3
Turn off DNSSEC a day ahead
Watch out: If you move a signed domain while the old DS record is still cached, it disappears for everyone whose resolver checks DNSSEC: no website, no email, no error page.
DNSSEC lives in two places: the DNS provider signs the zone, and the registrar publishes a fingerprint of the key (the DS record). The old provider's keys don't move with you. Remove the fingerprint first, and switch only once it has expired everywhere, which takes about a day.
In InfraNest
Open the domain and press Turn off DNSSEC. InfraNest removes the fingerprint at your registrar straight away and leaves the zone signed until the old fingerprint has expired. If it can't do that at your registrar, remove the DS record in the registrar's own panel. Already shows DNSSEC off? Skip this step.
- 4
Step 4Needs Pro
Create the new zone from the old provider's records
The new zone should be filled from the old provider's own record list, not from guesses. A scan of public DNS only finds names it thinks to ask about, so a `status` or `shop` subdomain would quietly get left behind.
In InfraNest
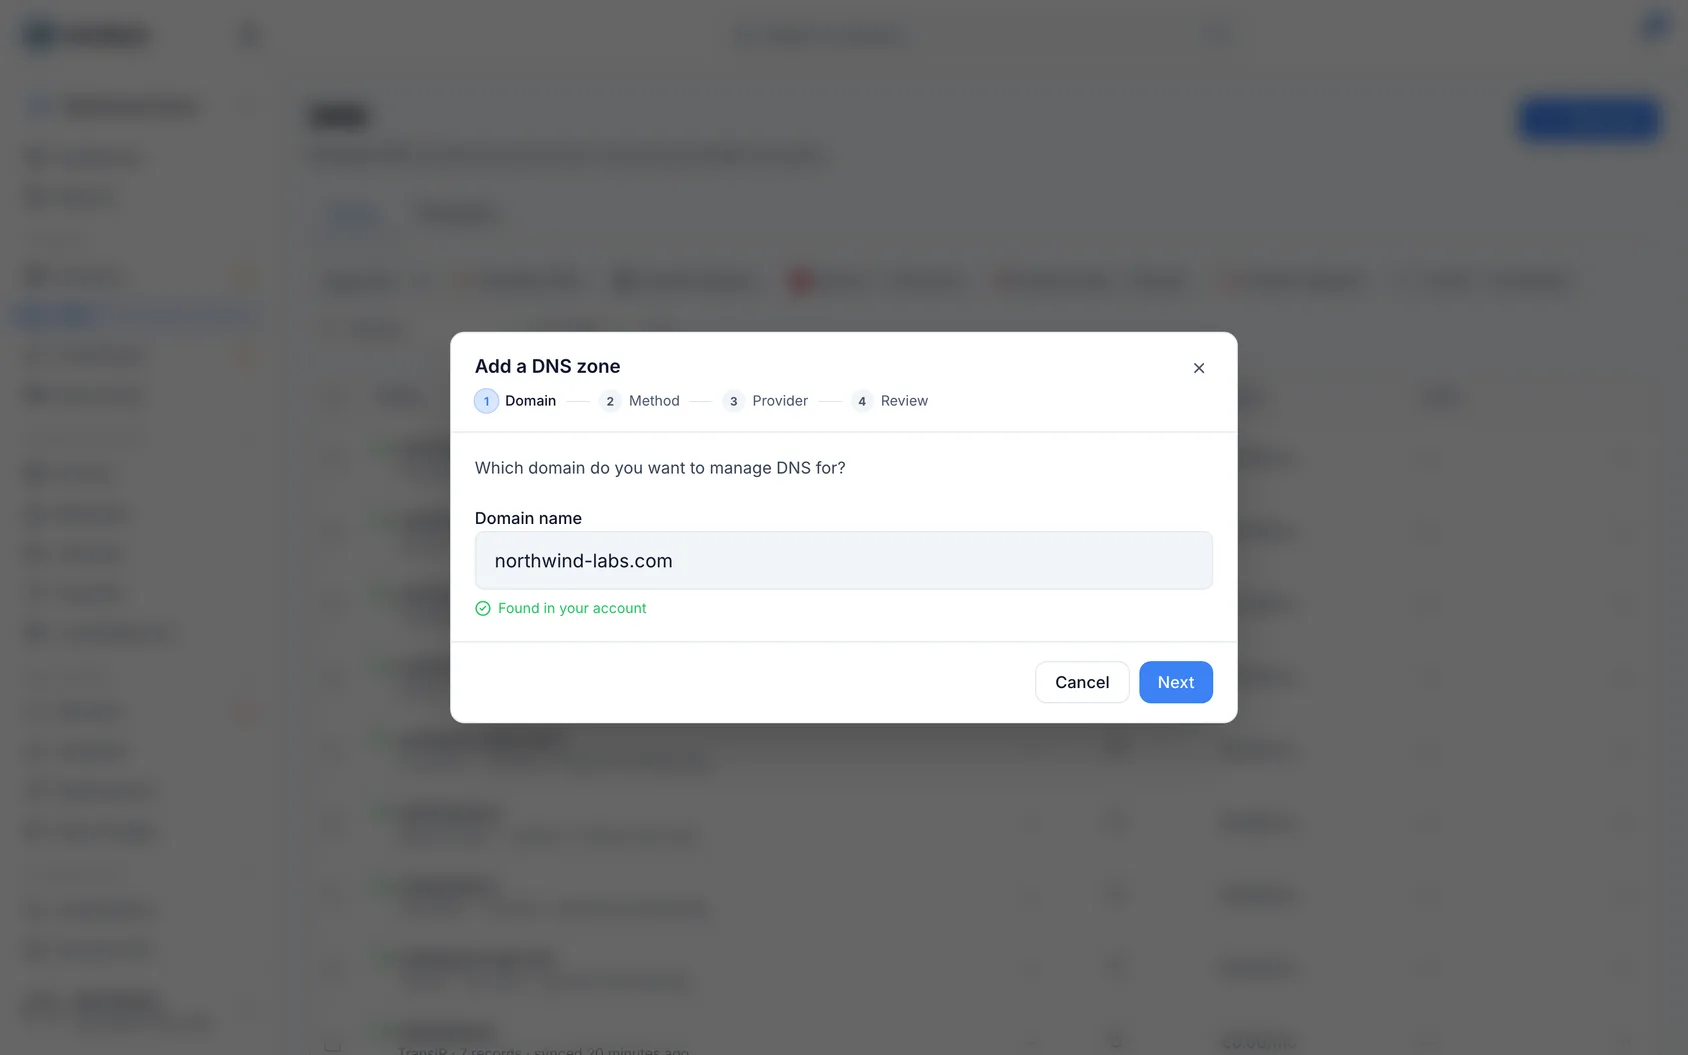
Go to DNS → create a zone, enter the domain and choose Copy from, picking the zone at the old provider. If the old provider can't be connected, export a zone file there and choose Upload a DNS zone file instead. Use Scan only as a last resort.
- 5
Step 5
Check the records before anything points at them
Until the nameservers change, the old provider keeps answering, so there's no rush and no outage while you fix things. After the switch, a missing record is a live problem.
In InfraNest
Compare the new zone with the copy you saved. Read the MX and TXT records closely: mail routing, SPF, DKIM, DMARC, and the verification records Google, Microsoft and others added years ago. If the copy stopped partway, the message says how many records weren't added and why. Fix the cause and run it again; records that are already there are skipped. The zone's Mail & security advisor confirms SPF, DKIM and DMARC came across intact.
- 6
Step 6
Point the domain at the new provider
This is the actual move, and it should be the last change you make. Everything before it could be undone without anyone noticing.
In InfraNest
If the registrar is connected, the zone wizard offers to update the nameservers in the same step. If you skipped that, open the domain: Where it points shows Point it at the zone. If that button is greyed out, your registrar connection can't change nameservers; set the new provider's nameservers in the registrar's own panel.
- 7
Step 7
Leave both zones alone while the change spreads
For up to 48 hours, some resolvers still ask the old provider. As long as both zones give the same answers, nobody notices which one they reached. Deleting the old zone, or changing a record in this window, is what causes the downtime.
In InfraNest
Save record changes for after the move. Follow the switch with the DNS propagation checker. Drift detection on the new zone tells you if anything changes behind your back.
- 8
Step 8
Turn DNSSEC back on and clean up
Once every resolver gets the new nameservers, sign the zone again, this time at the new provider. After that, the old zone has done its job.
In InfraNest
Open the zone, then Actions → Set up DNSSEC. InfraNest asks the new provider to sign and hands the fingerprint to your registrar where it can. Hetzner and DigitalOcean can't sign through InfraNest yet: turn signing on in their panel and enter the key under Manage DNSSEC on the domain. After a few quiet days, delete the old zone at the old provider.
Moving email or changing mail providers too? Do that after the DNS move, not during it. One change at a time makes it obvious what broke if something does.