Connect your cloud
Pick your cloud provider. You only see the steps for that provider, then the part in InfraNest.
1Pick your provider
Not listed? See all integration guides
2At DigitalOcean
- Sign in to DigitalOcean.
- Open the tokens page — the Open the token page link on the InfraNest connect screen takes you straight there, or use the left-hand menu: API (right at the bottom), then the Tokens tab.
- Select Generate New Token.
- Give it a name you'll recognise, such as InfraNest.
- Choose an expiry. See the note below before you pick one.
- Choose the scopes — Full Access is fine, or see the list below for a narrower token.
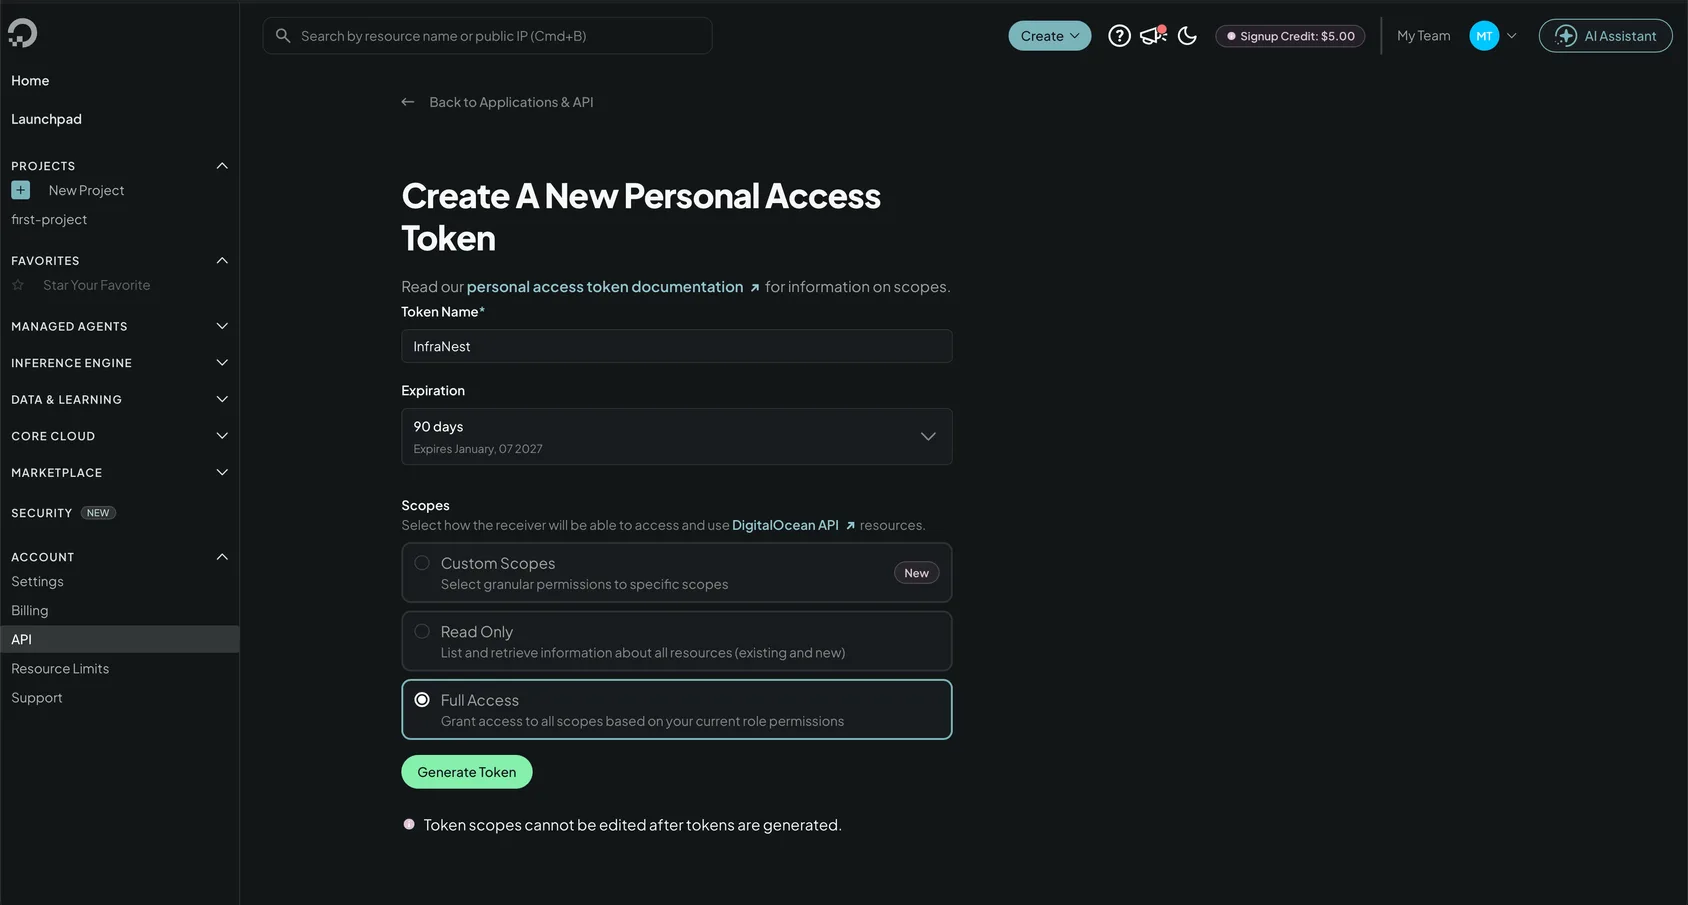
- Select Generate Token, then copy the value. It starts with
dop_v1_. - Paste it into InfraNest — see Connect DigitalOcean.
WarningThe token is shown once. If you navigate away without copying it, generate a new one rather than trying to find it again.
3In InfraNest
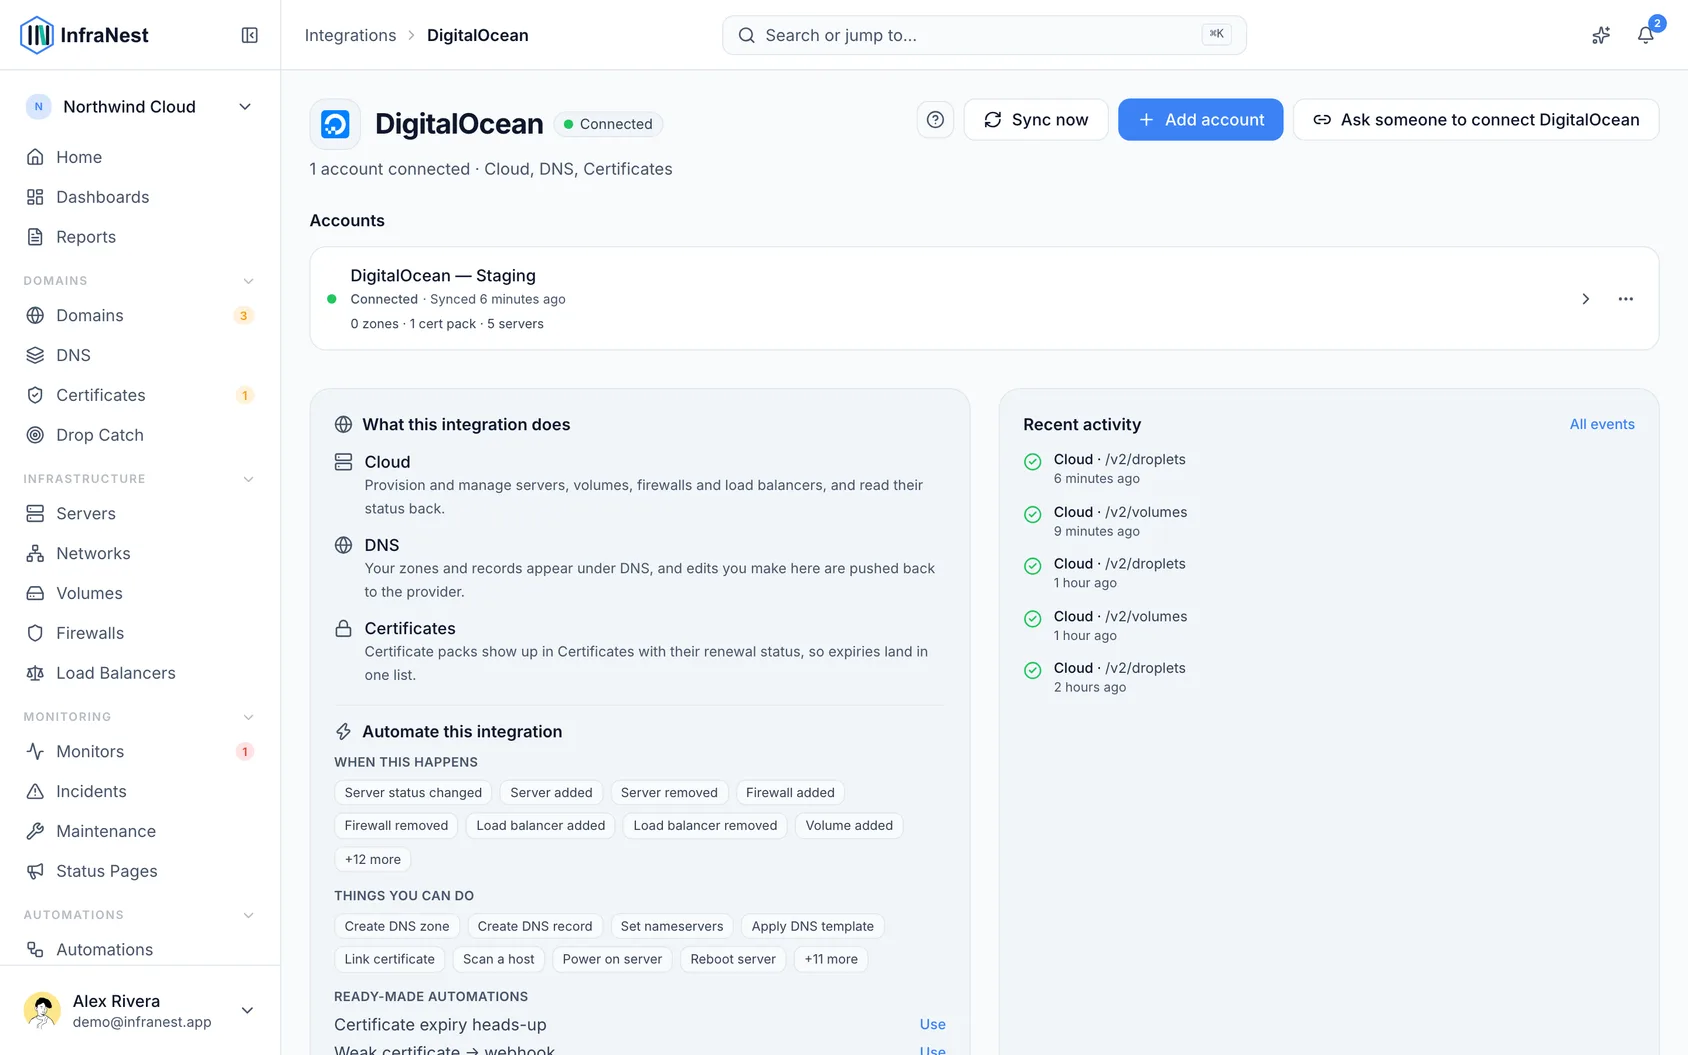
- Go to Integrations and open DigitalOcean.
- Give the connection an Account label (Optional — useful if you connect more than one account).
- Choose which features to use it for: Cloud, DNS and Certificates.
- Either select Connect with DigitalOcean and approve it in the window that opens, or paste your API token.
- Leave Email me when this integration has problems ticked if you'd like email warnings.
- Select Connect.
2At Hetzner
- Sign in to the Hetzner Console (console.hetzner.com). On InfraNest's Hetzner connect form, the Open the token page link will take you straight to your projects.
- Open your project, then go to Security → API Tokens.
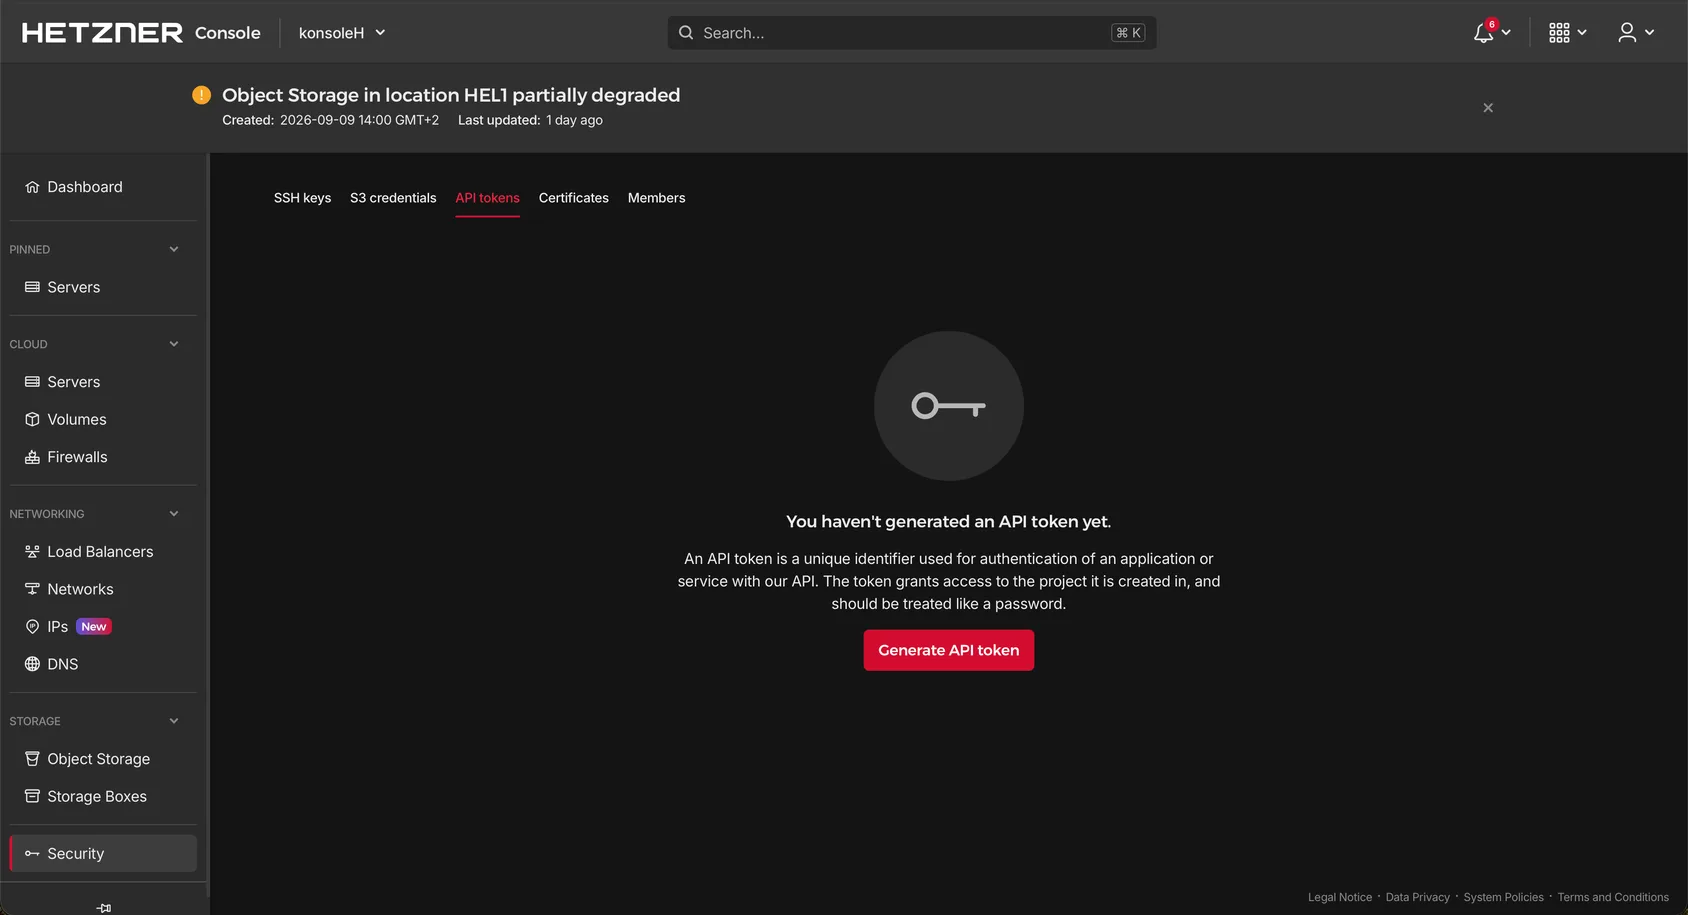
- Select Generate API Token, give it a name (something like "InfraNest" works well), and choose Read & Write.
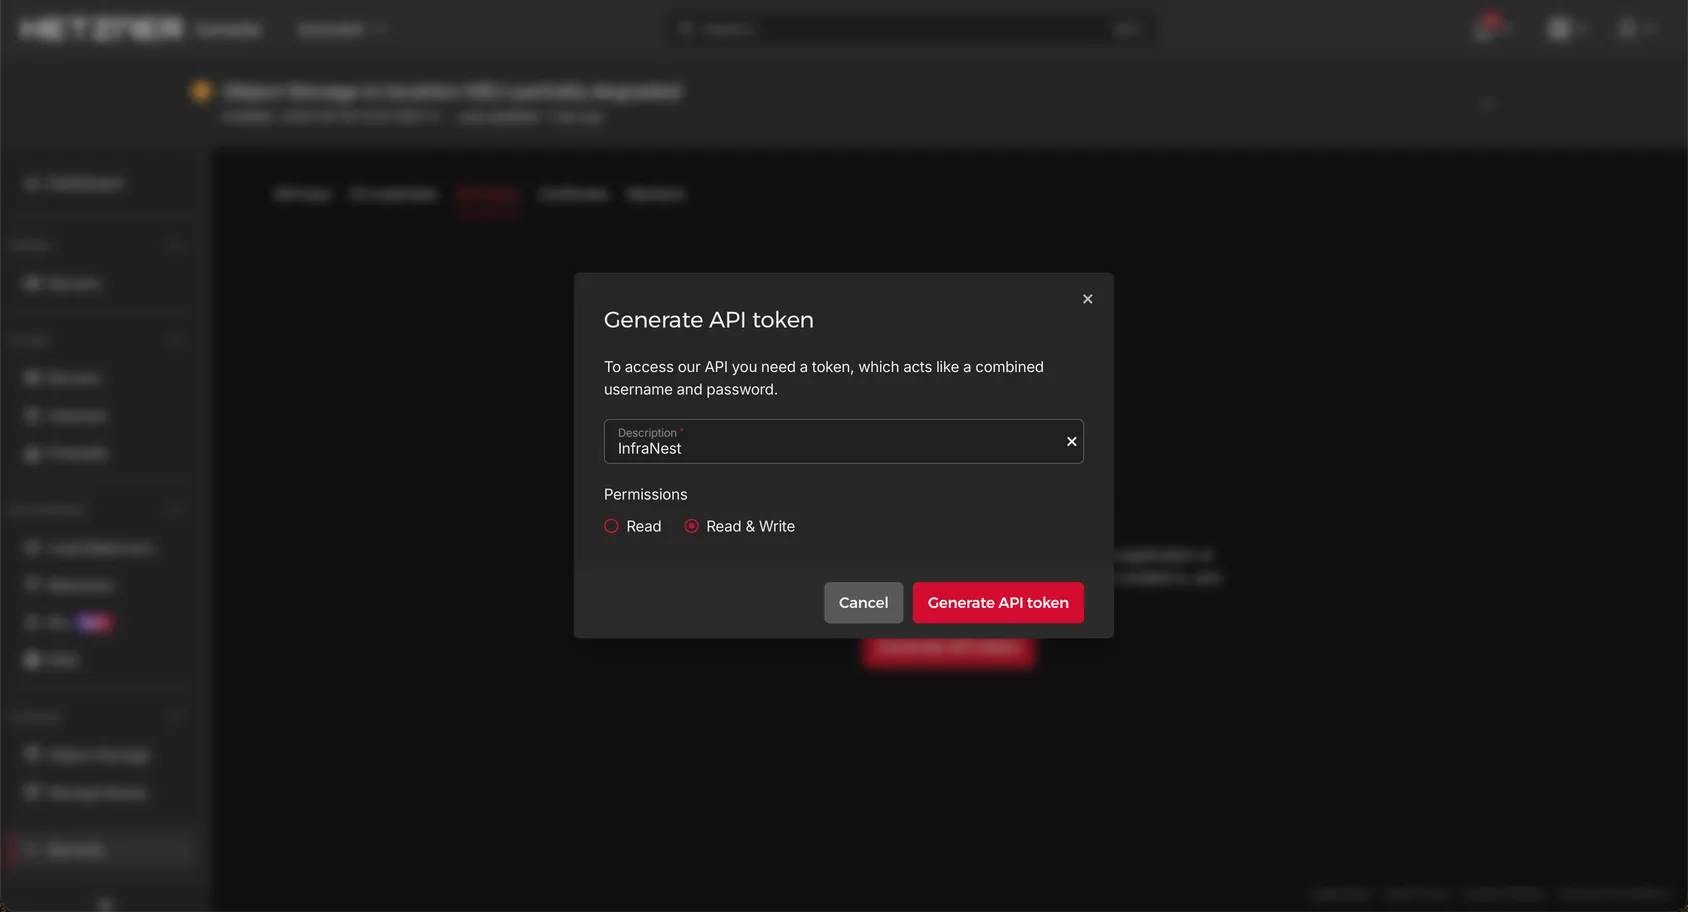
- Copy the token right away — Hetzner only shows it to you once.
WarningChoose Read & Write, not Read. A read-only token lets InfraNest see your resources but not manage them.
3In InfraNest
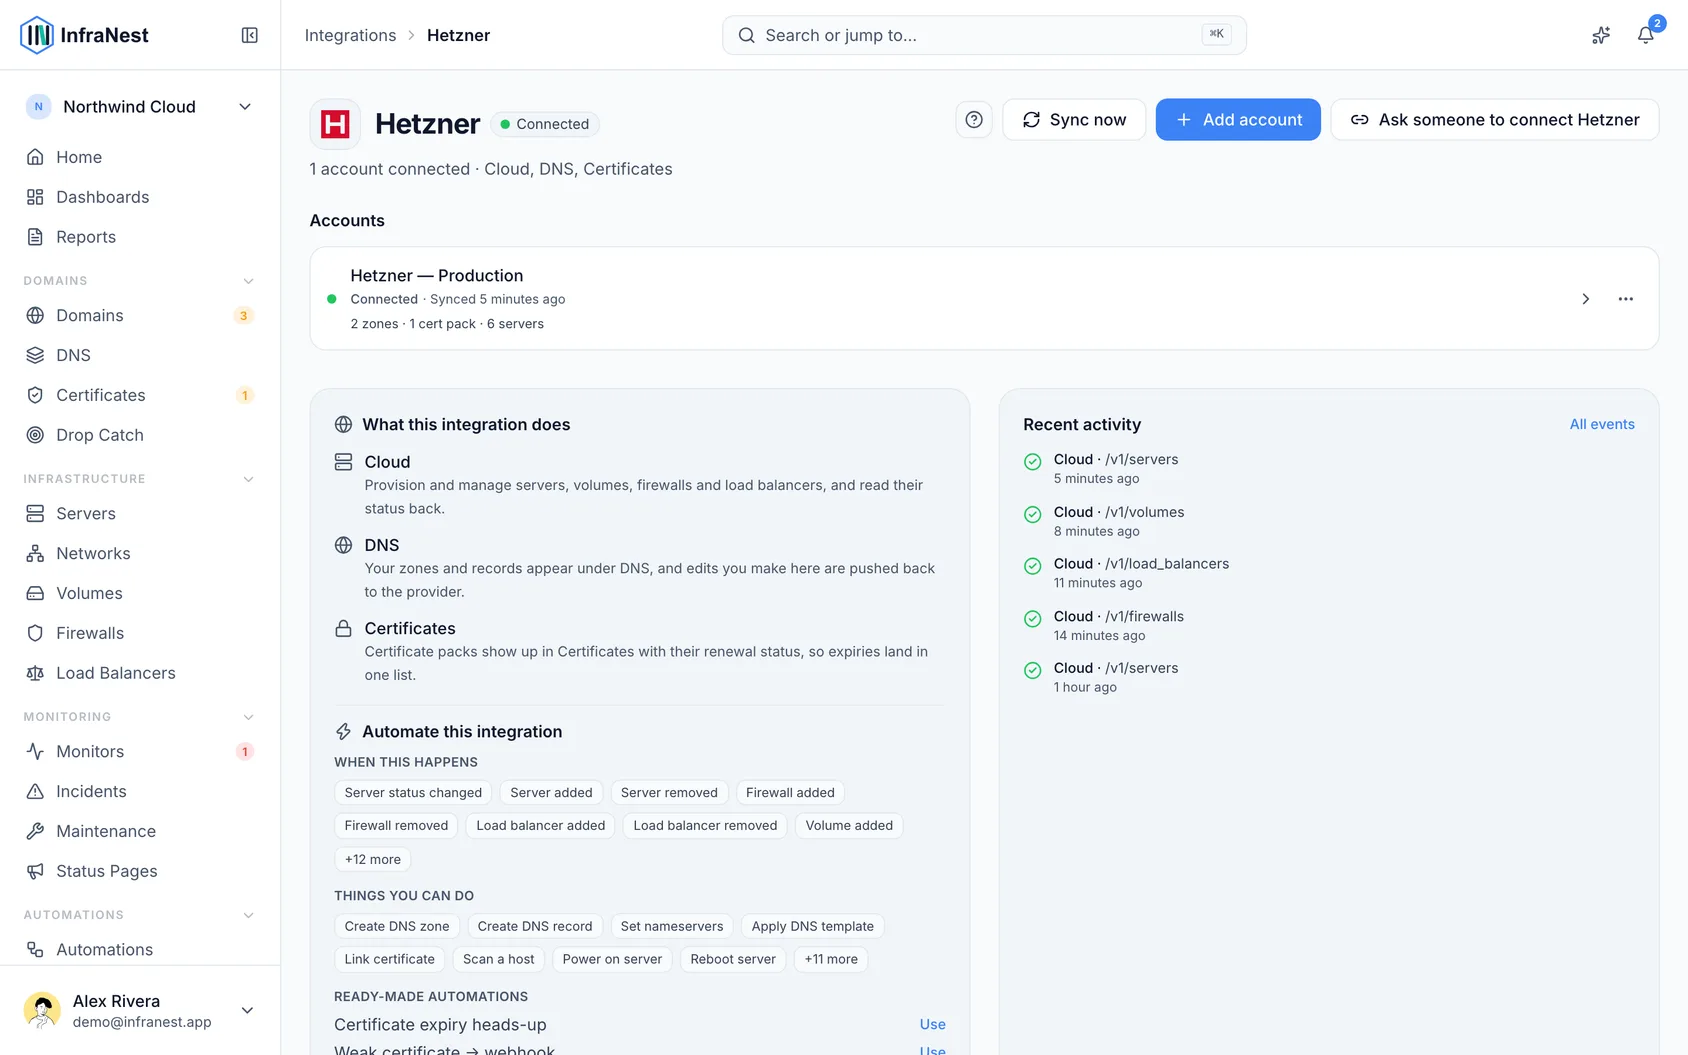
- Go to Integrations and open Hetzner.
- Give the connection an Account label so you can recognise it later. This is optional.
- Choose which features to use it for: Cloud, DNS and Certificates.
- Paste your API token.
- Leave Email me when this integration has problems ticked if you'd like a heads-up by email if something goes wrong.
- Select Connect.
InfraNest checks the token and starts bringing in your servers and zones straight away.
2At OVHcloud
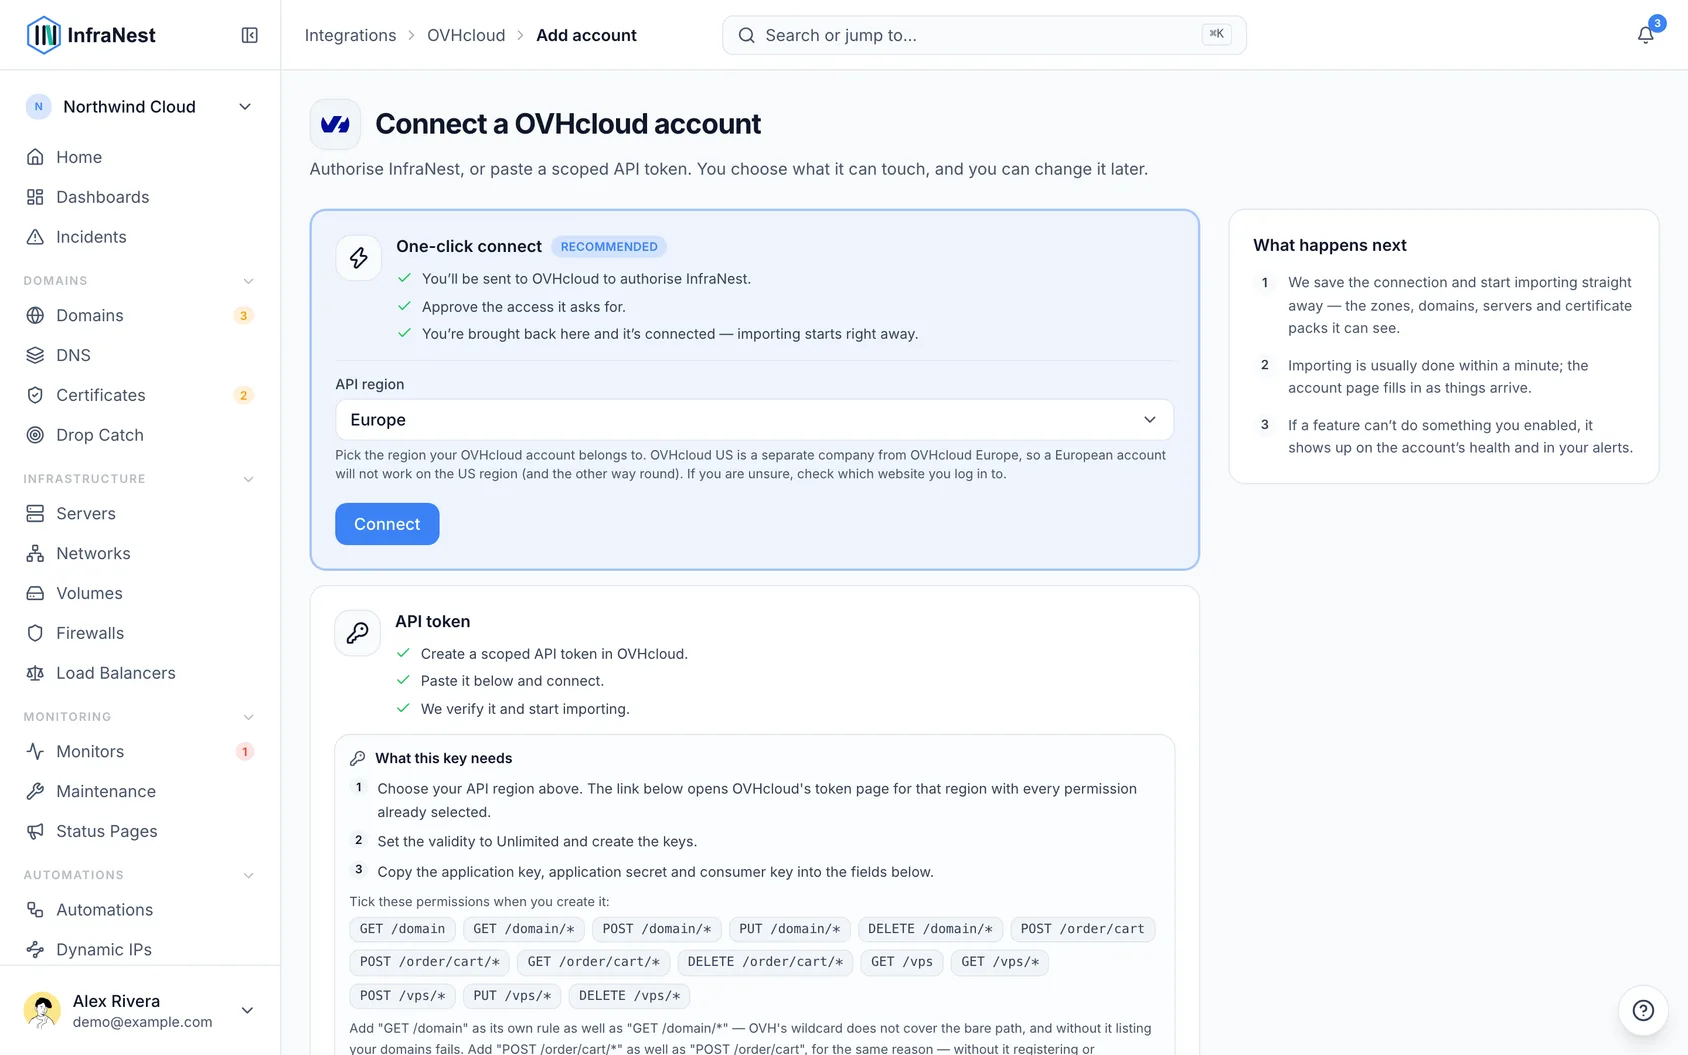
Go to the token page for your region — this must match the region you picked in InfraNest:
- Europe —
eu.api.ovh.com/createToken - Canada / Asia-Pacific —
ca.api.ovh.com/createToken - United States —
api.us.ovhcloud.com/createToken
- Europe —
Sign in with your OVHcloud account.
Fill in a Script name (for example
InfraNest) and a description, so you recognise it later.Set Validity to Unlimited, unless you want to rotate the keys yourself on a schedule.
Under Rights, add the required rows. The link InfraNest gives you opens this page with every row already filled in:
- Domains and DNS:
GET /domain,GET /domain/*,POST /domain/*,PUT /domain/*,DELETE /domain/* - Buying and pricing domains:
POST /order/cart,POST /order/cart/*,GET /order/cart/*,DELETE /order/cart/* - Servers (only if you run VPS at OVHcloud):
GET /vps,GET /vps/*,POST /vps/*,PUT /vps/*,DELETE /vps/*
Note
/domainand/domain/*are two separate rules — the*covers everything below/domain, but not/domainitself. Miss the first row and listing your domains fails while everything else works. The same applies to/order/cartand/vps, which is why each appears twice above.- Domains and DNS:
Select Create keys.
3In InfraNest
- Go to Integrations and open OVHcloud.
- Give the connection an Account label (Optional). Leave it blank and it takes the provider's name — a second connection to the same provider becomes "… (1)", so they stay tellable apart.
- Choose your API region from the list above. It's the first thing both connection methods ask for, because it decides which OVHcloud platform you're signed in to. The region is shown next to the connection's name afterwards, so with an account in two regions you can always tell which is which.
- Select Connect with OVHcloud if you see it, and approve the access OVHcloud asks for. Your region missing from the list on that button? One-click sign-in isn't set up for that platform yet — use the keys instead, which work for every region. See Create OVHcloud API keys.
- Choose which features to use it for: DNS, Registrar (your domains) and Cloud (your VPS). On the United States platform, Registrar isn't offered — OVHcloud US doesn't sell domains.
- Leave Email me when this integration has problems ticked if you'd like email warnings.
- Select Connect.
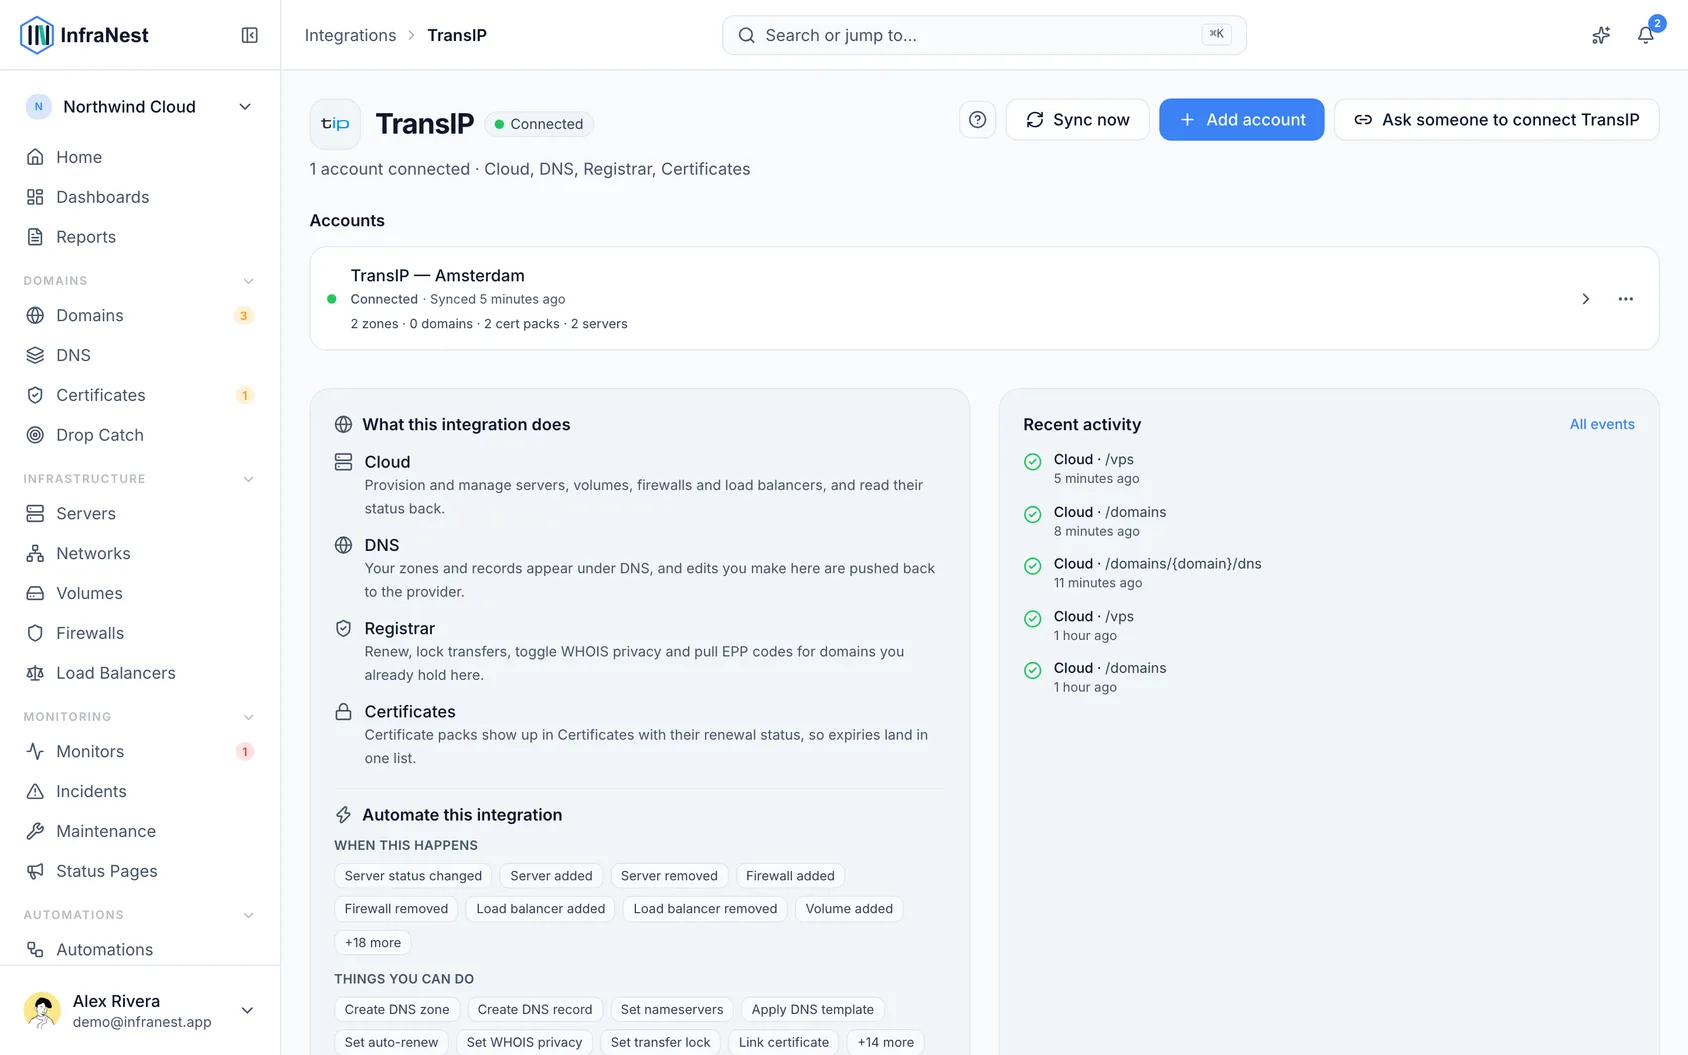
2At TransIP
- Sign in to the TransIP control panel. The Open the token page link on InfraNest's TransIP connect form goes straight to the API page.
- Go to Settings → API.
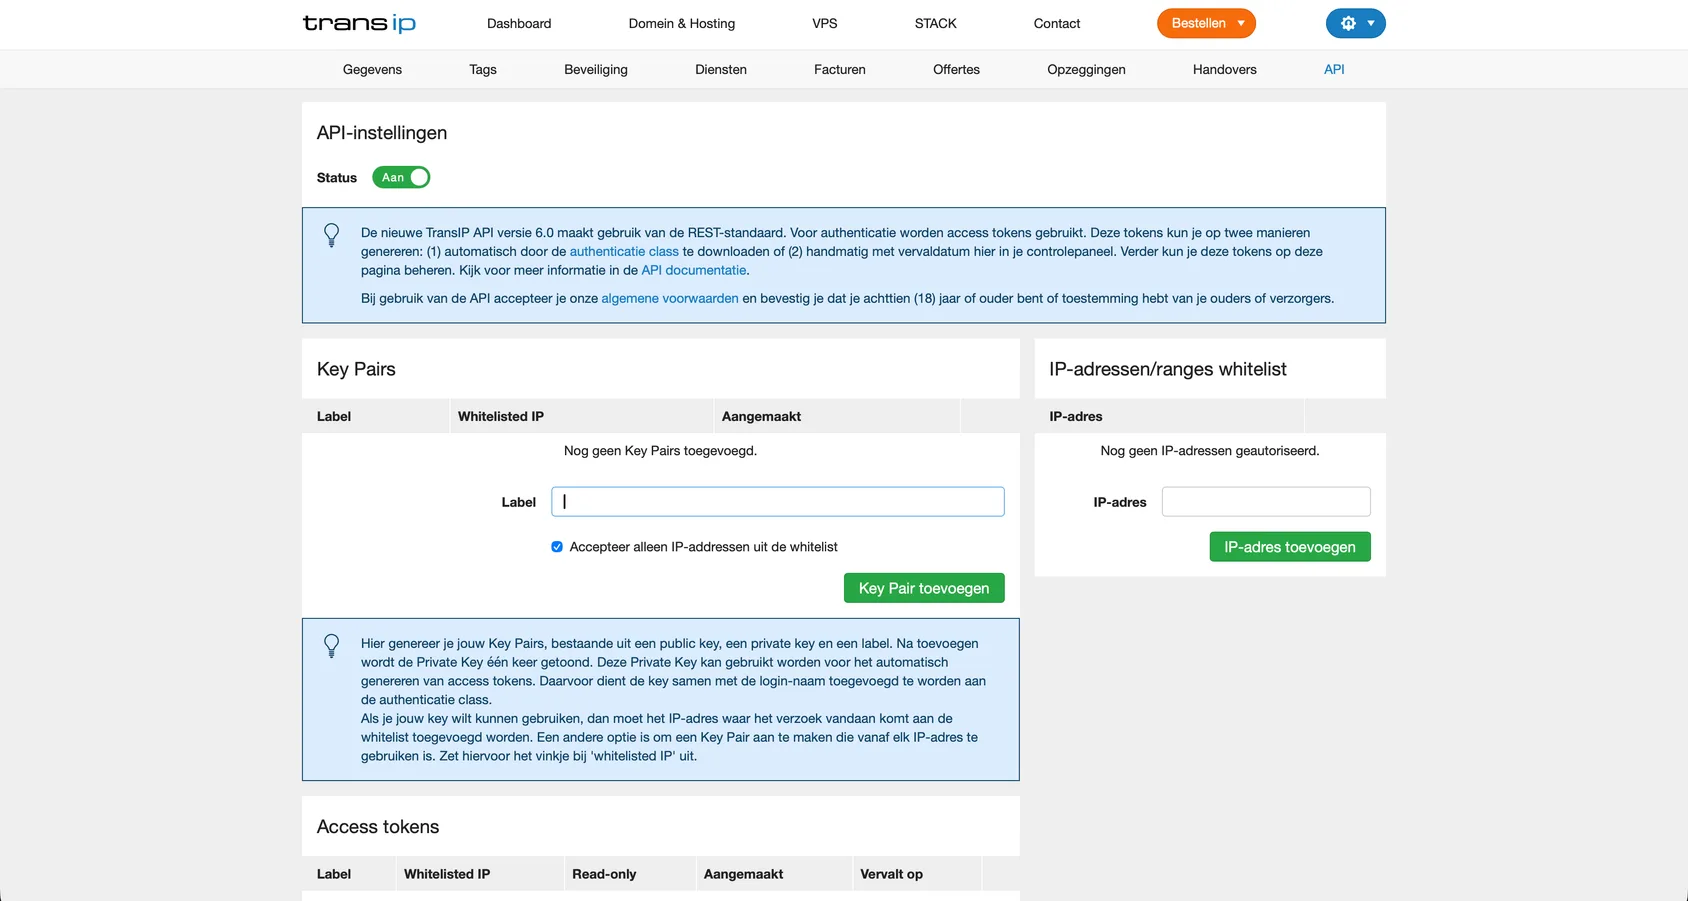
- Switch the API Status on. Under Key Pairs, give the key a label such as InfraNest, untick Accept only IP addresses from the whitelist — it is ticked by default — and select Add Key Pair.
WarningInfraNest doesn't connect from one fixed address, so if you leave the whitelist option ticked, your key will be refused.
- Copy the private key, including the
-----BEGINand-----ENDlines.
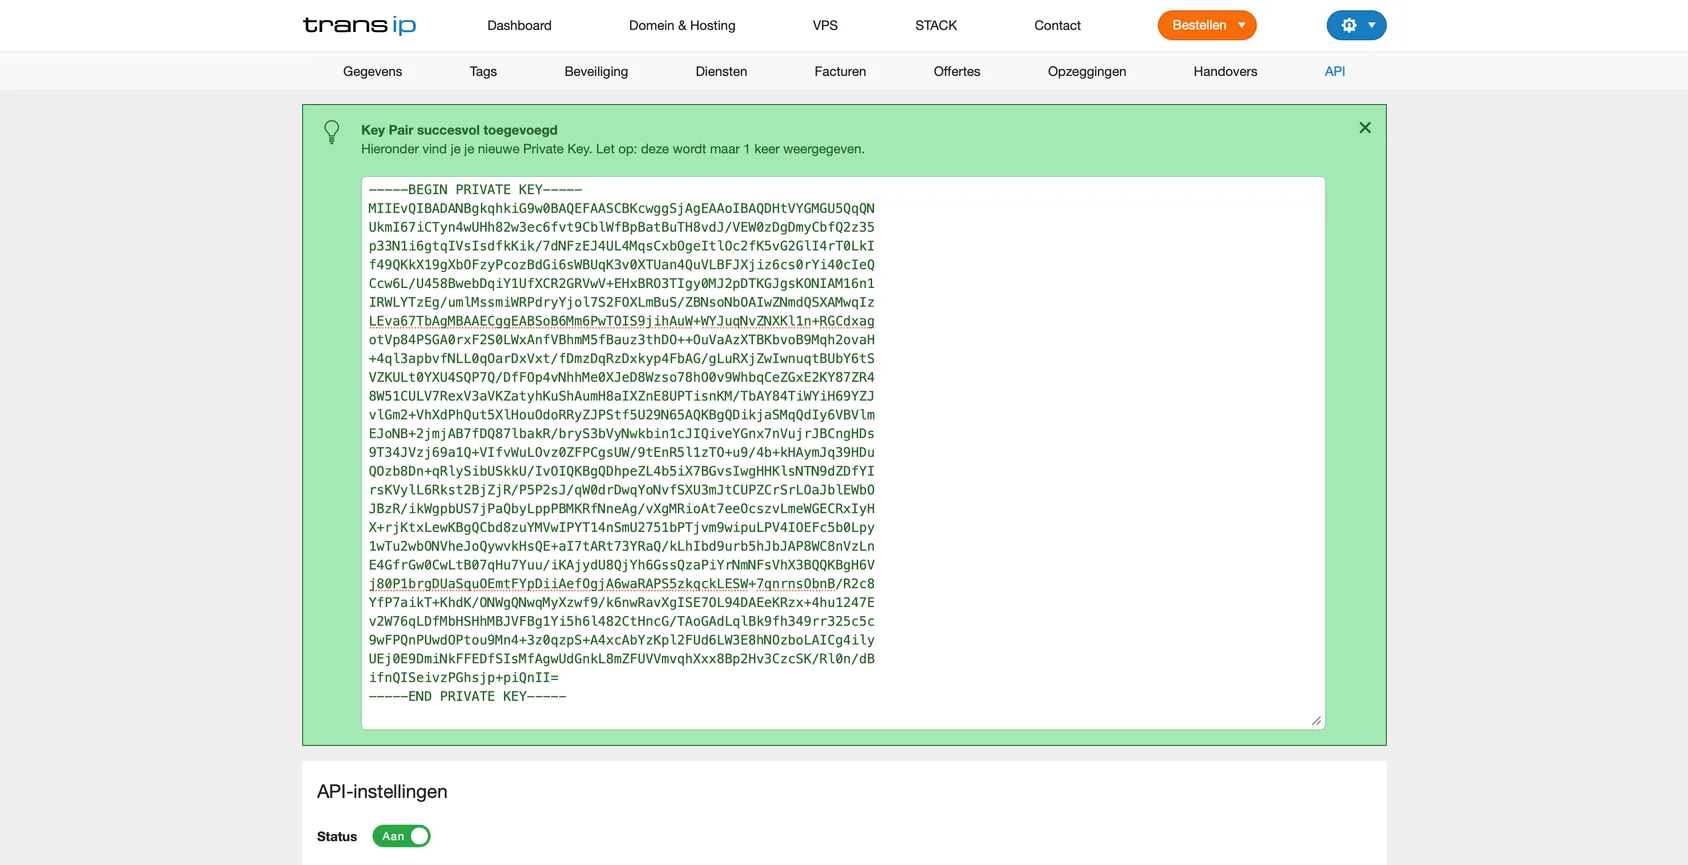
NoteTransIP shows you this private key only once. If you lose it, you'll need to create a new key pair.
- Note your account name (your TransIP username) — you'll need it too.
3In InfraNest
- Go to Integrations and open TransIP.
- Give the connection an Account label (optional). Leave it blank and it takes the provider's name — a second connection to the same provider becomes "… (1)", so they stay tellable apart.
- Choose which features to use it for: Cloud, DNS, Registrar and Certificates.
- Enter your Account name and paste your RSA Private Key, including the
BEGINandENDlines. - Leave Email me when this integration has problems ticked if you'd like email warnings.
- Select Connect.