

Show customers and your team the real-time health of your services, without manually updating anything — InfraNest pulls the live status straight from your monitors.
Overview
- Built from the monitoring checks you already have running, so status and uptime update automatically.
- You control the branding, what shows on the page, and who can see it.
- Incidents and maintenance windows from your monitoring appear on the page without any extra work.
Create a page
- Go to Status Pages and select Create status page (or New status page).
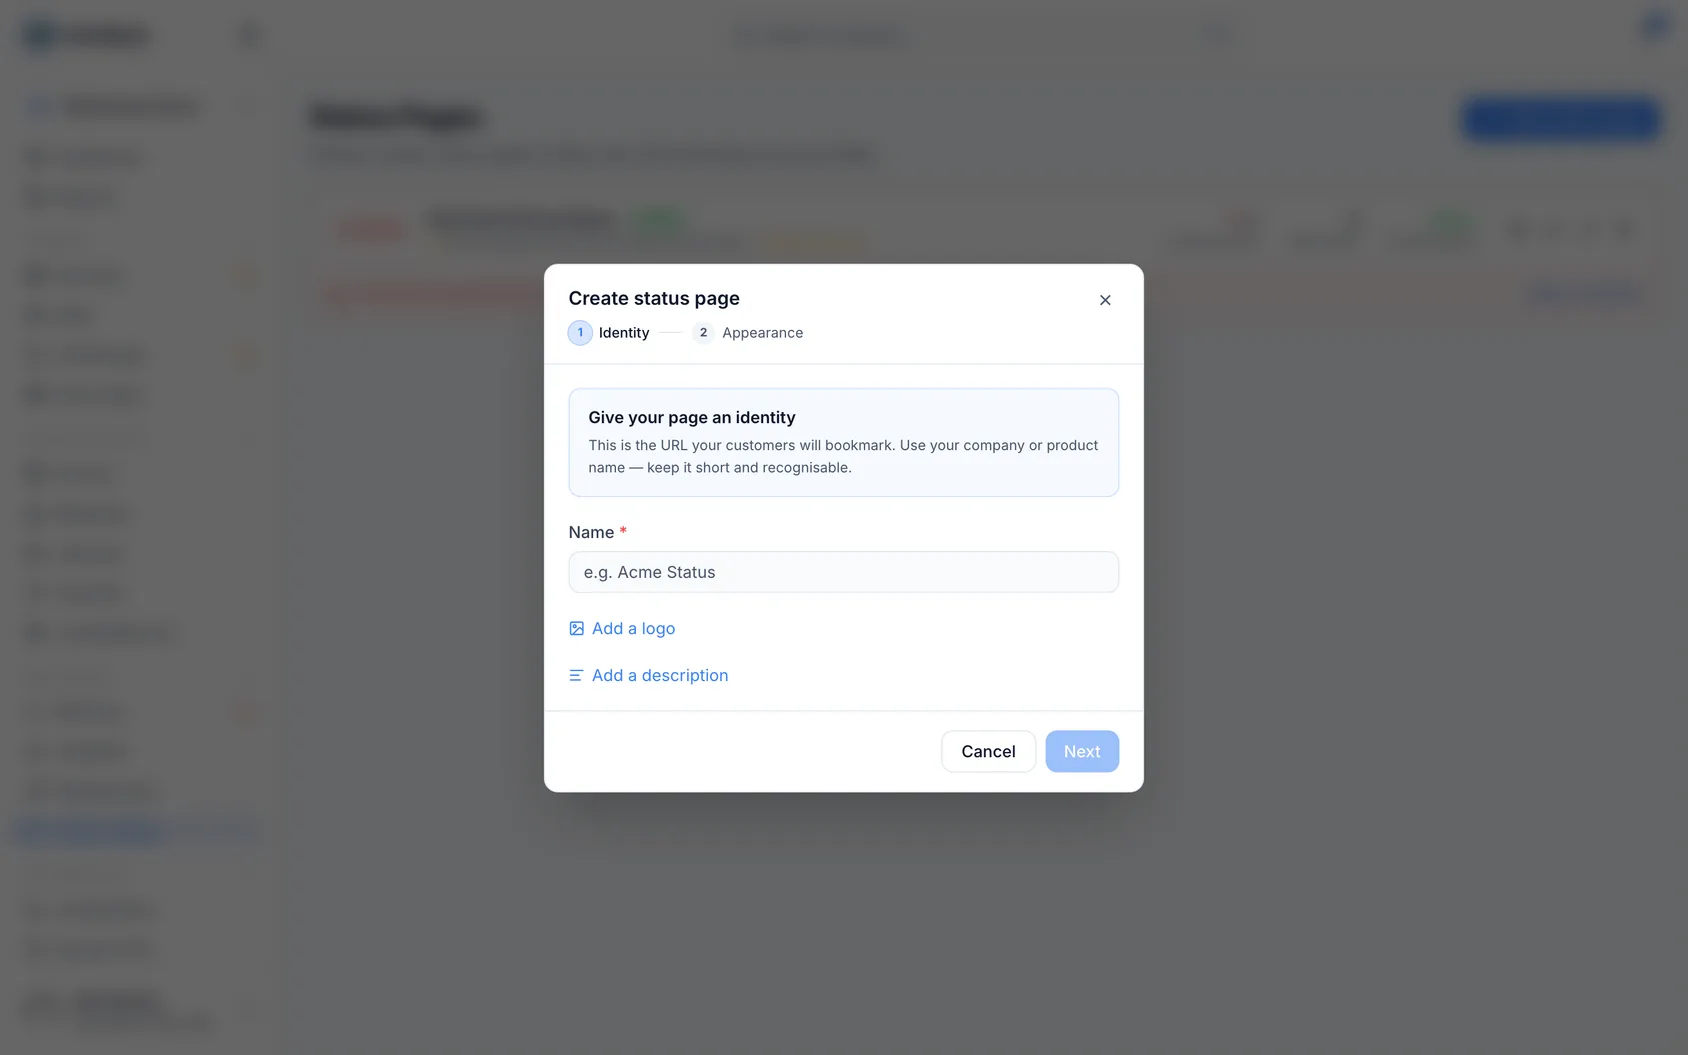
- Under Add components, add a component for each part of your service you want to show — every component links to one of your monitoring checks, so it displays that check's live status and uptime automatically. Use Add component to add more, and give each one a clear Display name. Arrange components into groups (using Group name), for example "Website", "API", "Email", so the layout is easy to scan.
- Give your page an identity: upload a logo using Add a logo (or Click to upload / or drag and drop), pick a look under Pick a theme, and add a short description with Add a description.
- Set your Footer details — add Custom footer text and a Footer link URL.
- Use the content toggles to choose what appears on the page: Show uptime percentage, Show incident history, Show component group labels, Show tags on public page, Third-party services you watch, and announcements or maintenance banners.
- Select Save changes when you're happy with the setup.
NoteIncident history and maintenance windows are pulled automatically from your monitors — there's nothing to enter by hand.
Control who can see it
- Open the Access control section for your status page.
- Under Visibility, choose Private to keep it internal, or set a password using This page is password protected and Enter password to restrict access to customers or teammates who have it. Leave it open for anyone if you want a fully public page.
- Use Allow search engine indexing to decide whether the page can be found in search results, or kept out of them.
- Select Save changes to apply your settings.
TipIf you later want to remove password protection, use Remove password protection instead of clearing the field manually.
Add a custom domain
- Open Add a custom domain (or Use your own URL) from your status page settings.
- Choose Set it up for me if you want InfraNest to manage the domain for you, or enter your own Custom domain and the matching CNAME target.
- Follow the Setup guides: links if you're setting up the DNS record yourself.
- Check back on the page — it will show Pending verification, Domain verified, or Domain error (for example Not pointing to the right target) depending on the DNS status.
Tips
- Use Show 90-day uptime bar if you want visitors to see longer-term reliability, not just the current status.
- The Public URL: /status/{slug} field lets you customize your page's web address — set the Slug to something short and memorable.
Troubleshooting
- Domain pending or showing an error — double-check your CNAME record matches the CNAME target shown, then wait for Pending verification to clear. DNS changes can take a little time to take effect.
- Components not showing live status — make sure each component is linked to a monitor using Link to monitor; a component without a linked monitor has nothing to report.
Was this article helpful?
Related articles
Use a custom domain for your status pageHost your status page on your own domain — like status.example.com — with HTTPS set up automatically.About status pagesA status page turns your monitoring into a branded public page — on your own domain with automatic HTTPS — that shows customers what's up, what's degraded…Make your status page look like yoursYour status page can match your colours, your spacing and your sections — without a designer.Status page subscribers and announcementsLet visitors subscribe to your status page for updates, and post announcements to keep everyone informed.