

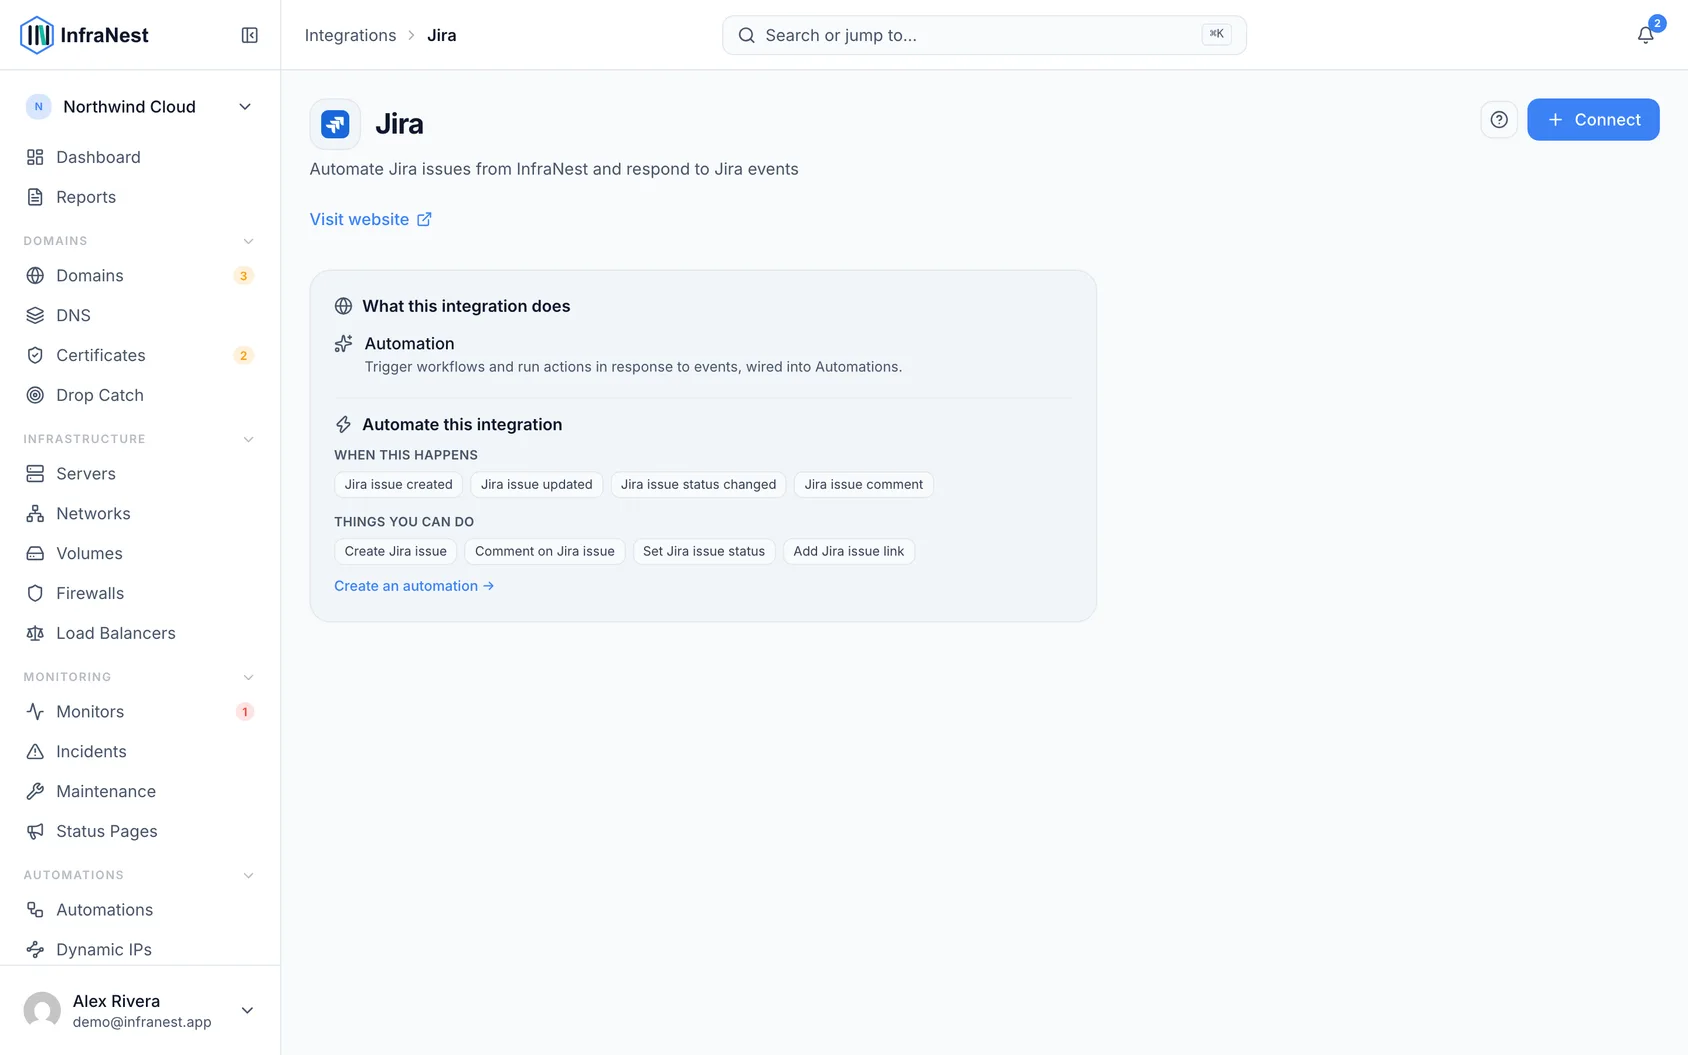
Connect Jira so your automations can raise, update, and link tickets automatically — for example when a certificate is about to expire, a monitor goes down, or a domain is coming up for renewal. This article is for anyone setting up or troubleshooting the Jira connection in InfraNest.
Overview
- Automations can raise Jira tickets, comment on them, move their status, and link them back to the certificate, monitor, or domain they concern.
- No more copying details across by hand — the ticket arrives already filled in.
- Works with Jira Cloud (a
something.atlassian.netaddress). Jira Data Center and Server are not supported.
Connect your site
- Go to Settings → Integrations and find Jira.
- Click Connect with Jira.
- Approve access when Atlassian asks. You land back in InfraNest already connected — nothing to copy.
- If you have more than one Atlassian site, choose which one to use. If you have exactly one, InfraNest picks it for you.
NoteIf Connect with Jira is greyed out, your InfraNest administrator has not registered a Jira app yet. Use an API token instead — it works the same way once connected.
Connect with an API token
- In Atlassian, open Account settings → Security → API tokens and create a token.
- Copy it — Atlassian only shows it once.
- In InfraNest, go to Settings → Integrations → Jira and fill in three fields:
- Jira URL — for example
acme.atlassian.net. Pasting the full address of any Jira page also works. - Atlassian account email — the address you sign in with.
- API token — the one you just copied.
- Jira URL — for example
- InfraNest checks the connection right away and shows whose account it belongs to, so you can confirm you connected the right one.
TipUse the email you sign in with. A different address on the same site is refused, and the error looks like a bad token rather than a wrong email.
The token acts as you, so it can only raise tickets in projects you can already see. It's also tied to you personally — if you leave, it stops working. For a connection the whole team relies on, an admin's token or the one-click Connect with Jira option is the safer choice.
Raise a ticket from an automation
- Build a rule as usual and pick Create Jira issue as the action.
- Fill in Project — start typing and pick from your projects, or type a project key like
OPS. - Choose Issue type — Task, Bug, or whatever else your project uses. Sub-task types aren't offered, since they need a parent ticket to hang from.
- Fill in Summary and Description — plain text, and you can drop in values from whatever triggered the rule, so the ticket arrives with the domain name or monitor already in it.
- Optionally set Assignee — start typing a name or email address. Only people who can actually be assigned in that project are offered.
- Optionally set Priority and Labels — labels cannot contain spaces; use a hyphen instead.
The ticket the rule creates is available to later steps in the same rule, so you can post its link to Slack right after raising it — or comment on it, move it, or link it, using the actions below.
Comment, change the status, or link back
Three more actions work on a ticket that already exists. All of them ask which ticket: give the key you see in Jira (OPS-14), or refer to the ticket an earlier step in the same rule raised — the picker of earlier values offers it.
- Comment on Jira issue — adds a comment. Useful as the other half of a rule that raises tickets: the monitor recovers, and the ticket says so.
- Set Jira issue status — moves the ticket, so a rule that opened work can also finish it. Type the status you want it to end in ("Done"), or the name your workflow gives the move ("Close Issue") — either works.
- Add Jira issue link — puts a link in the ticket's Links panel pointing back at the certificate, monitor, or domain it's about. Running the rule again updates that link rather than adding a second one.
Troubleshooting
"Jira rejected the token" — check all three fields, not just the token. The most common cause is an email address that isn't the one you sign in to Atlassian with.
"Your Atlassian account cannot use the Jira API" — the token is valid, but the account isn't allowed to use the API on that site. Your Jira administrator can change that.
"This Jira connection has no site selected yet" — you authorized more than one Atlassian site and haven't picked one. Open the connection in Settings → Integrations and choose it.
The project list is empty. Pick a connection first, at the top of the action. If it's still empty, the account may not be able to see any projects.
The issue-type or assignee list is empty. Both belong to a project, so choose the project first. If the project comes from the trigger rather than being picked, the lists stay empty and you can type the values instead — the automation works them out when it runs.
An automation failed saying a field is required. Some projects make extra fields mandatory on their create screen, and InfraNest's Jira action offers a fixed set. The failure names the field Jira wanted — open the run in Automations → History to see it. Either make that field optional in Jira, or raise the ticket in a project that doesn't require it.
"Jira offers no transitions on OPS-14 right now." Jira only allows the moves its workflow permits from the ticket's current status. A ticket already Done cannot be moved to Done. The message lists what the ticket can do — pick one of those.
"No transition named … is available." Your workflow calls the move something else. The message lists the available ones; use whichever gets to the status you want.
Was this article helpful?