

Connect your Namecheap account to InfraNest to manage your domains, DNS and SSL certificates in one place. This article is for anyone who registers or manages domains through Namecheap and wants to handle them without leaving InfraNest.
#Overview
- Once connected, your Namecheap domains and their DNS records appear automatically in InfraNest.
- You can register, transfer in and renew domains, change nameservers and more.
- InfraNest keeps everything up to date on its own, refreshing regularly in the background.
#Before you start
You'll need API access turned on in Namecheap, your API username and key, and InfraNest's IP address approved in your Namecheap account. See Create a Namecheap API key for the steps.
#Connect Namecheap
- Go to Integrations and open Namecheap.
- Give the connection an Account label so you can recognise it later — for example, "Main account". This is optional.
- Choose which features to use it for: Registrar, DNS and Certificates. Leave any turned off that you don't need.
- Enter your API Username (your Namecheap username) and API Key. The Whitelisted IP is already filled in, and the box above it says Allow this IP at the provider — check it matches the one you approved in Namecheap. Leave the optional reseller username empty unless Namecheap gave you one.
- Leave Email me when this integration has problems ticked if you'd like a heads-up by email if something goes wrong.
- Select Connect.
InfraNest checks your details and starts bringing in your domains straight away.
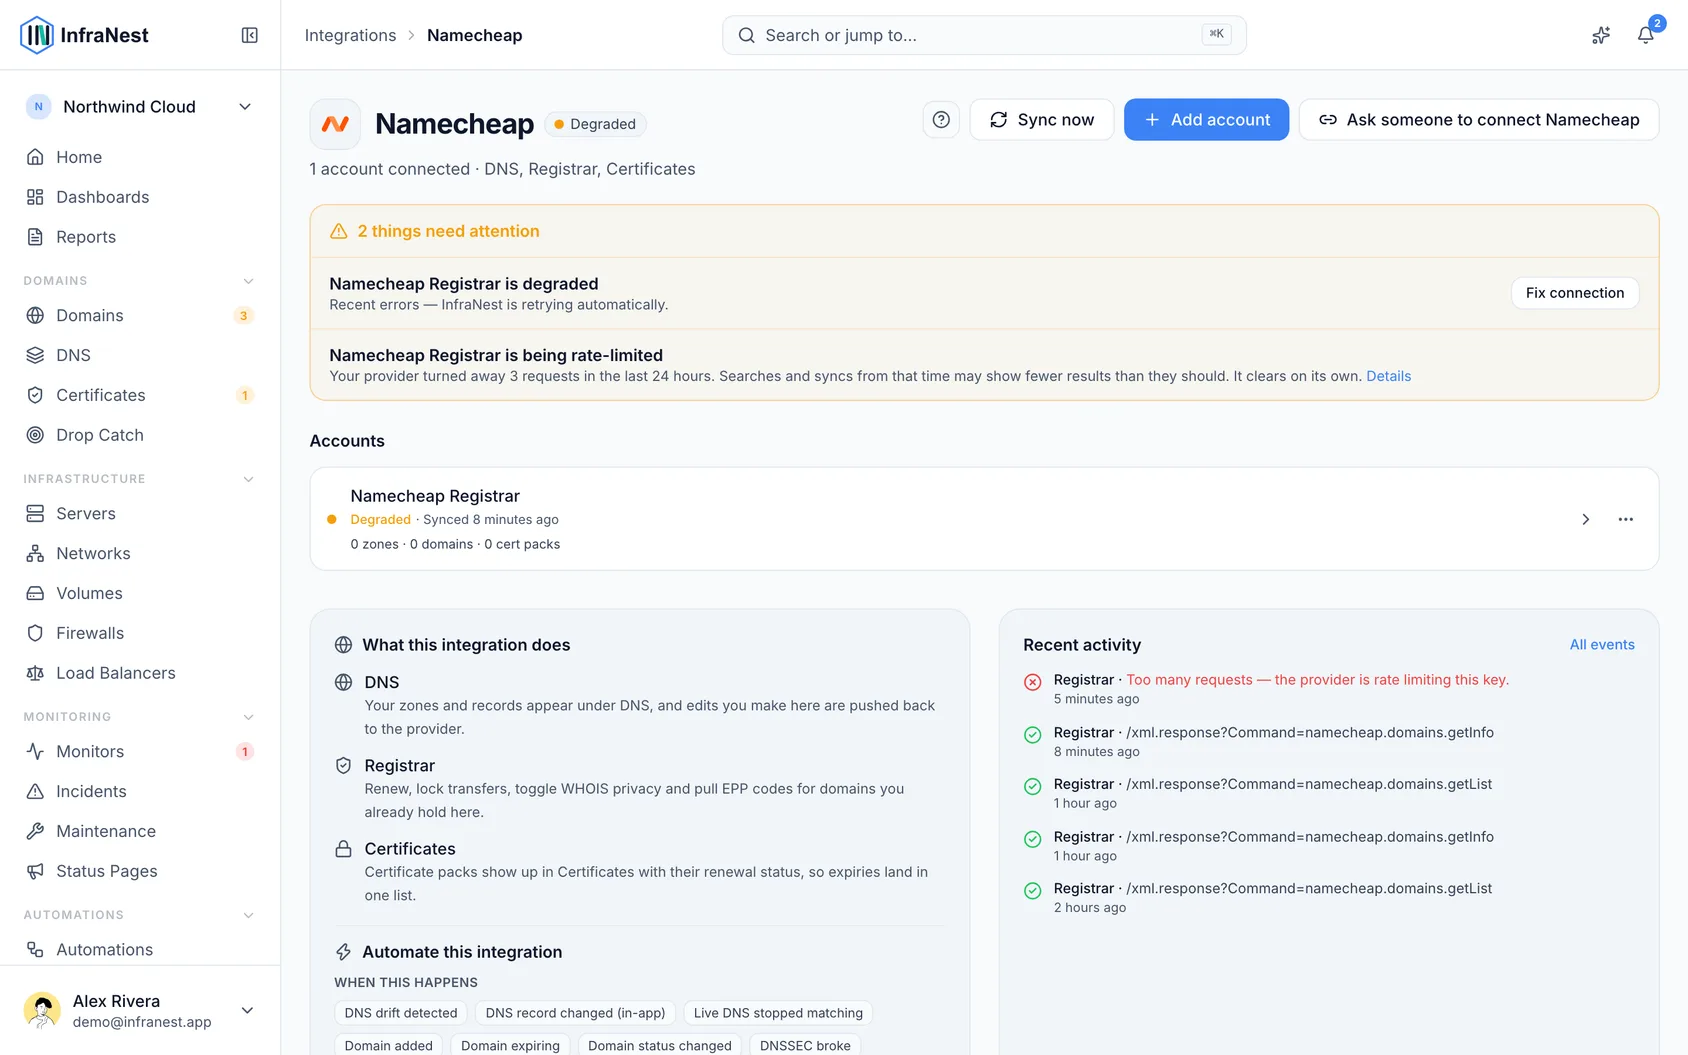
#What you get once it's connected
- Domains — see all your Namecheap domains, register new ones, transfer domains in, renew them, change nameservers and contacts, lock transfers, and turn WHOIS privacy on or off.
- DNS — view and edit your DNS records. When you save a change, InfraNest updates the whole list of records at once — that's simply how Namecheap works.
- SSL certificates — any certificates on your Namecheap account show up in your certificate list.
InfraNest refreshes your domains, DNS and certificates about once an hour, and each domain's details every six hours.
#What it can't do
Namecheap's API doesn't offer these, so they stay on the Namecheap website:
- Switching auto-renew on or off. InfraNest shows whether it's on; change it at Namecheap.
- DNSSEC.
- Getting the transfer (EPP) code. Namecheap emails it to the domain's owner when you ask for it on its website.
- Transferring in every extension. Transfers work for the extensions Namecheap accepts through its API; for the rest, start the transfer at Namecheap.
- WHOIS privacy without Namecheap's privacy service. Turning privacy on or off works when the domain has Namecheap's free privacy subscription attached to it.
- Some DNS record types. Namecheap's API takes A, AAAA, CNAME, MX, TXT, NS and URL redirect records only, so SRV and CAA records can't be added here.
NoteSome domain endings (like .us and .eu) need a few extra details. InfraNest asks you for those only when they apply.
#Tips
TipNamecheap limits API calls to about 20 a minute. With many domains the first import takes a while, and InfraNest waits and tries again when it hits the limit.
- If InfraNest's IP address ever changes, you'll need to approve the new one in your Namecheap Whitelisted IPs again.
#Troubleshooting
- "Authentication failed" or an IP error — check that the IP address is in your Whitelisted IPs in Namecheap and matches the one shown on the connect screen, and that API access is switched on. Namecheap reports a missing IP as a sign-in problem, so check the IP first.
- Nothing appears after connecting — make sure your API key is still valid, then choose Sync now in the account's ⋯ menu on the Namecheap page under Integrations.
- A certificate is missing — only active certificates appear; unused certificate slots are skipped.
Was this article helpful?
Thanks for your feedback!
Thanks, this goes straight to the docs team.
Related articles
 AWSConnect Amazon Web Services (AWS)Connect AWS to manage your Route 53 DNS, Route 53 domains and ACM certificates from InfraNest.
 CloudflareConnect CloudflareConnect Cloudflare to manage your DNS, domains and SSL certificates from InfraNest. Your Cloudflare zones and records appear automatically once it's connected.CloudflareCreate a Cloudflare API tokenTo connect Cloudflare, InfraNest needs an API token from your Cloudflare account. Here's how to create one with the right permissions.
 DigitalOceanCreate a DigitalOcean API tokenYou only need this if you'd rather not use Connect with DigitalOcean, which does the same job without a token. If you do want one, it takes about a minute.