

Connect Notion so your automations can file work straight into the database your team already uses — a certificate about to expire, a monitor that went down, a domain coming up for renewal — without anyone copying and pasting. This is for anyone setting up automations that need to create or update Notion pages.
Overview
- Lets automations create tasks in a Notion database you choose, and later comment on them or move them along.
- Works with a one-click connection or a token, whichever your organisation has set up.
- Notion connections can only see the pages and databases you explicitly share with them — this is different from most integrations and worth understanding before you start.
NoteA valid connection that hasn't been given access to anything can reach nothing at all. Skipping the sharing step below is the single most common reason a Notion automation fails.
Connect your workspace
- Go to Settings → Integrations, find Notion, and click Connect with Notion.
- Notion asks you to approve access and to choose which pages and databases to share.
- Pick the database you want tasks filed in while you're there.
- You'll land back in InfraNest already connected.
If Connect with Notion is greyed out, your InfraNest administrator hasn't registered a Notion connection yet — use a token instead (see below); it works the same way once set up.
Connect with a token
- In Notion, open the developer portal at
app.notion.com/developers/connections. - Under Internal connections, choose Create a new connection, give it a name, and pick your workspace.
- Open the Configuration tab and copy the Installation access token.
- In InfraNest, go to Settings → Integrations → Notion and paste it in.
InfraNest checks the token straight away and shows which workspace it belongs to.
Share the database with the connection
Do this even if the connection says it's working — a token on its own can see nothing.
- In Notion, open the database you want tasks filed in.
- Click the ••• menu at the top right.
- Choose Connections → Add connection, and pick the connection you just made.
- Confirm it can access the page and everything inside it.
If you connected with the one-click button and chose the database on Notion's approval screen, this is already done.
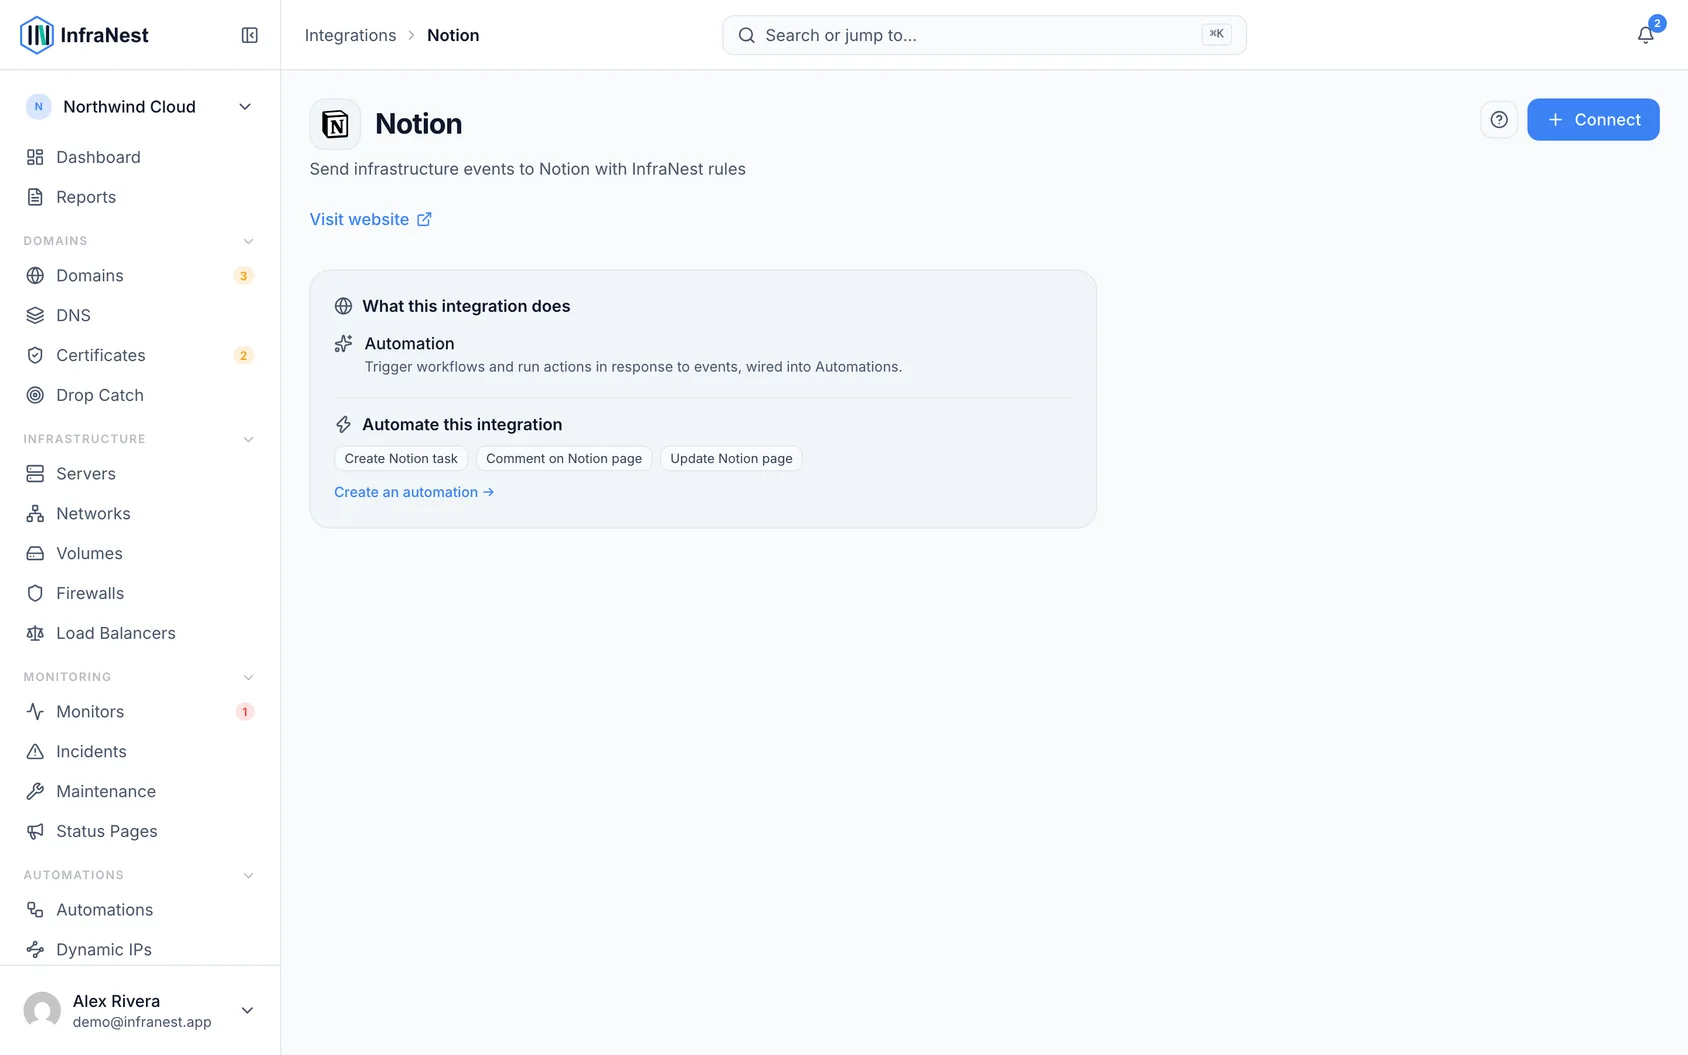
File a task from an automation
- Build a rule as usual and pick Create Notion task as the action.
- Set Notion database — start typing and pick from the databases this connection can see, or paste a database link straight from your browser. If the list is empty, the sharing step above hasn't been done yet.
- Set Title — plain text; you can drop in values from whatever triggered the rule, so the task arrives with the domain name or monitor already in it.
- Set Body (optional) — becomes the text inside the page.
- Fill in Properties (optional) — add a row per column you want to fill: pick the column by name, then type or pick the value. The column's type is shown underneath so you know whether it wants a date, an option, a number, and so on.
The task the rule creates is available to later steps in the same rule, so you can post its link to somewhere else straight after filing it — or comment on it and move it, using the actions below.
Comment on a task, or move it along
- Add Comment on Notion page to add a comment — useful as the other half of a rule that files tasks, so when the monitor recovers, the task says so.
- Add Update Notion page to set any of the same properties — a rule that opened work can also finish it: set Status to Done, push a date out, or tick a checkbox. It can also move the page to the trash. You don't need to say which database the page is in — it already knows.
- For both actions, say which page: paste its link from Notion, or refer to the task an earlier step in the same rule created — the picker of earlier values offers it.
Troubleshooting
- "Notion cannot see that page or data source." Open the database in Notion, click ••• → Connections → Add connection, and add this connection.
- The database list is empty. Pick a connection first, at the top of the action. If it's still empty, nothing has been shared with the connection yet.
- The property list is empty. Choose the database first. If the database comes from the trigger rather than being picked, the list stays empty — type the column names instead and the automation works them out when it runs.
- "That Notion database has no property called …" The column name doesn't match. Notion column names are case-sensitive, and renaming a column in Notion doesn't update rules that name the old one. The message lists the columns the database actually has.
- "Notion computes … itself." Formula, Rollup, Created time, Last edited by and ID columns are worked out by Notion — nothing can set them, including you, by hand.
- "… is a checkbox — use true or false." Checkbox columns take
trueorfalse. An empty value leaves the column alone rather than unticking it, so sayfalseif you mean unticked. - "That Notion database has more than one data source." Pick the one you want from the database list instead of pasting the database's link.
- "Notion refused this because the connection does not have that capability." Commenting is a separate permission from writing pages, set on the connection in Notion's developer portal. Open the connection there and check its capabilities.
Was this article helpful?