

Not every server lives in a cloud account — you might have your own hardware in an office or a rack, or a machine at a provider InfraNest doesn't connect to yet. This article shows you how to add one of those and monitor it just like any other server.
Overview
- Add any server you already have, even if InfraNest has no cloud account for it
- It's tracked in your monitoring list, marked Self-managed
- Install the agent afterward to get full monitoring: CPU, memory, disk, services, processes and alerts
- Power actions, backups, snapshots and cost tracking don't apply, since there's no provider account behind it
Add it
- Go to Monitoring and choose Add monitor.
- Pick A server from the monitor types.
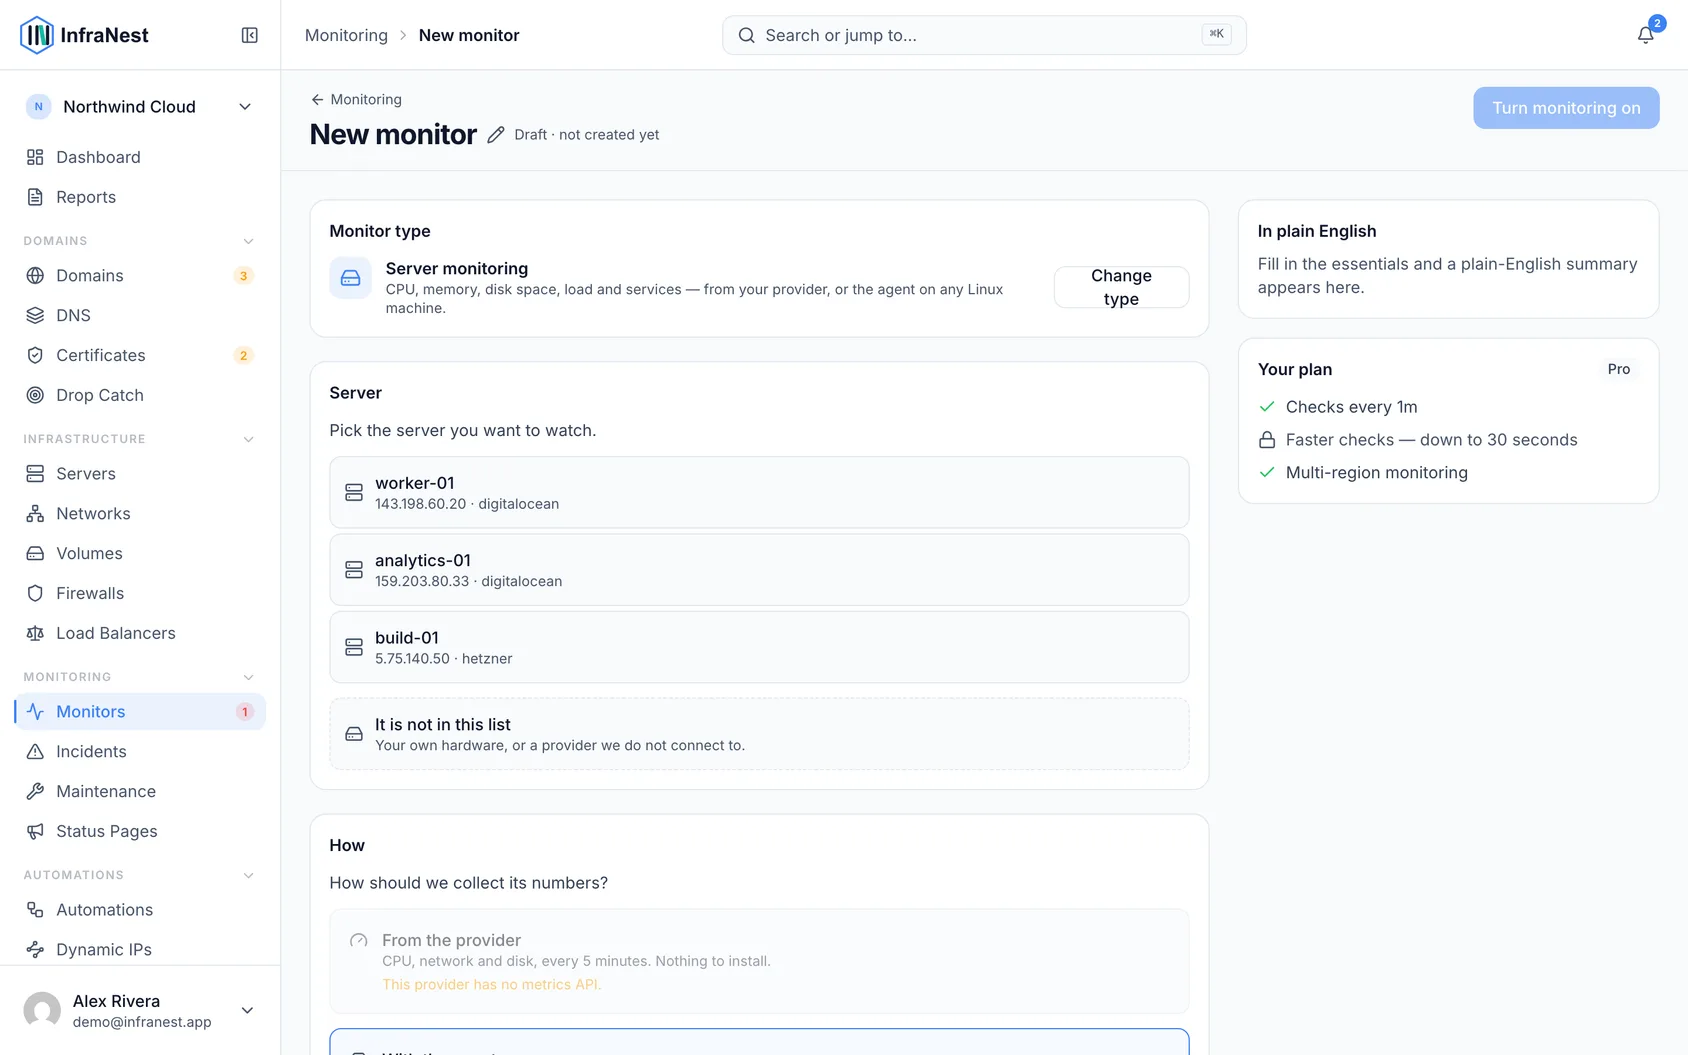
- Choose it from the list — or, if it is not there, select It is not in this list and give it a name.
- Choose how to collect its numbers. For a server with no cloud account behind it there is only one answer, and the page says why.
- Press Turn monitoring on.
A name is the only thing we need. You can add an IP address and a location too, purely so you recognise it in the list — we do not connect to either.
The server appears in your monitoring list straight away, marked Self-managed.
It is deliberately not on the Servers page. That page is for machines in a connected cloud account — powering them on and off, backups, snapshots, volumes, cost — and none of that exists for a server we have no account for. A count on that page links back here, so it is never lost.
Remove it again
A server you added by hand exists nowhere but InfraNest, so deleting it here is the whole of it — nothing happens to the machine, because there is no account for us to reach it through.
- From Monitoring, open Servers, then open the ⋯ menu on its row and choose Delete server.
- Or open the server and use the ⋯ menu at the top.
- Or, on the Servers page, open it and use Power → Delete server — there you type the name to confirm, like any other delete.
Deleting removes its record, everything measured about it and its alert rules. If you would rather keep the history, Stop tracking hides it and keeps all of it — see Remove a server from InfraNest.
WarningDeleting a self-managed server removes its full history and alert rules permanently. If you might want the history later, use Stop tracking instead.
Then install the agent
On its own, an added server is just a name. The agent is what makes it useful — install it and you get everything InfraNest measures on any other machine:
- CPU, memory, disk space and load
- Which services are running, and why any of them failed
- The heaviest processes
- What is filling the disk
- Alert rules, and a warning if the server stops reporting at all
See Install the server agent, step by step. The command is the same one you would use anywhere else.
What a self-managed server cannot do
There is no provider account behind it, so there is nothing for us to ask on your behalf. That means no:
- power actions — start, stop and reboot
- backups or snapshots
- rebuilds or rescue mode
- costs
Those controls are greyed out rather than hidden, so it is clear they exist and simply do not apply here.
Everything the agent measures works exactly as it does on a cloud server. The agent has never cared where a machine runs.
Tips
TipIf your server isn't in the list InfraNest offers, just choose It is not in this list and give it a name — that's all it takes to start tracking it.
Why not just pick a provider from the list?
Because it would be wrong everywhere afterwards. The server would carry another company's logo, its cost would be counted against an account it is not in, the monitoring page would claim we were collecting from a provider API that will never answer, and the power buttons would offer to reboot something we cannot reach.
Self-managed says the true thing instead: we know about this machine, and we do not manage it.
Was this article helpful?