

Cloud servers are the machines that power your apps and websites — this article is for anyone who wants to see and manage all of them from one place instead of switching between provider consoles.
Overview
- See every server across your connected providers, with Status, type, IP addresses, datacenter and Tags.
- Run the full lifecycle — create, power on or off, reboot, rebuild, rescue, open a console, back up, snapshot and delete.
- Keep servers secure with a per-server Security Advisor that flags risky settings and can fix them in one click.
- Watch server health with CPU, network and disk metrics, and get alerted when something stays wrong for too long.
- Manage Firewalls, Volumes, Networks and Load Balancers alongside your servers.
Rename a server
- Click the server's name at the top of its page.
- Type the new name.
- Press Enter to save it.
The change is made at your provider first, so it's a real rename rather than a label that only exists in InfraNest — it will also show in your provider's own panel, and future syncs won't put the old name back.
A few provider differences worth knowing:
- TransIP and OVHcloud keep their own fixed identifier for a machine and offer a description beside it. That description is the name InfraNest shows and the one you edit, so renaming does what you'd expect.
- On DigitalOcean, a droplet's name is also its hostname, so renaming changes both.
- Servers you added yourself have no provider to check with, so they simply rename.
NoteIf your provider refuses the name — each has its own rules about what a name may contain — the old name stays on screen rather than showing a change that didn't happen. Every rename is recorded in the Audit Log with what the server was called before.
The Servers page
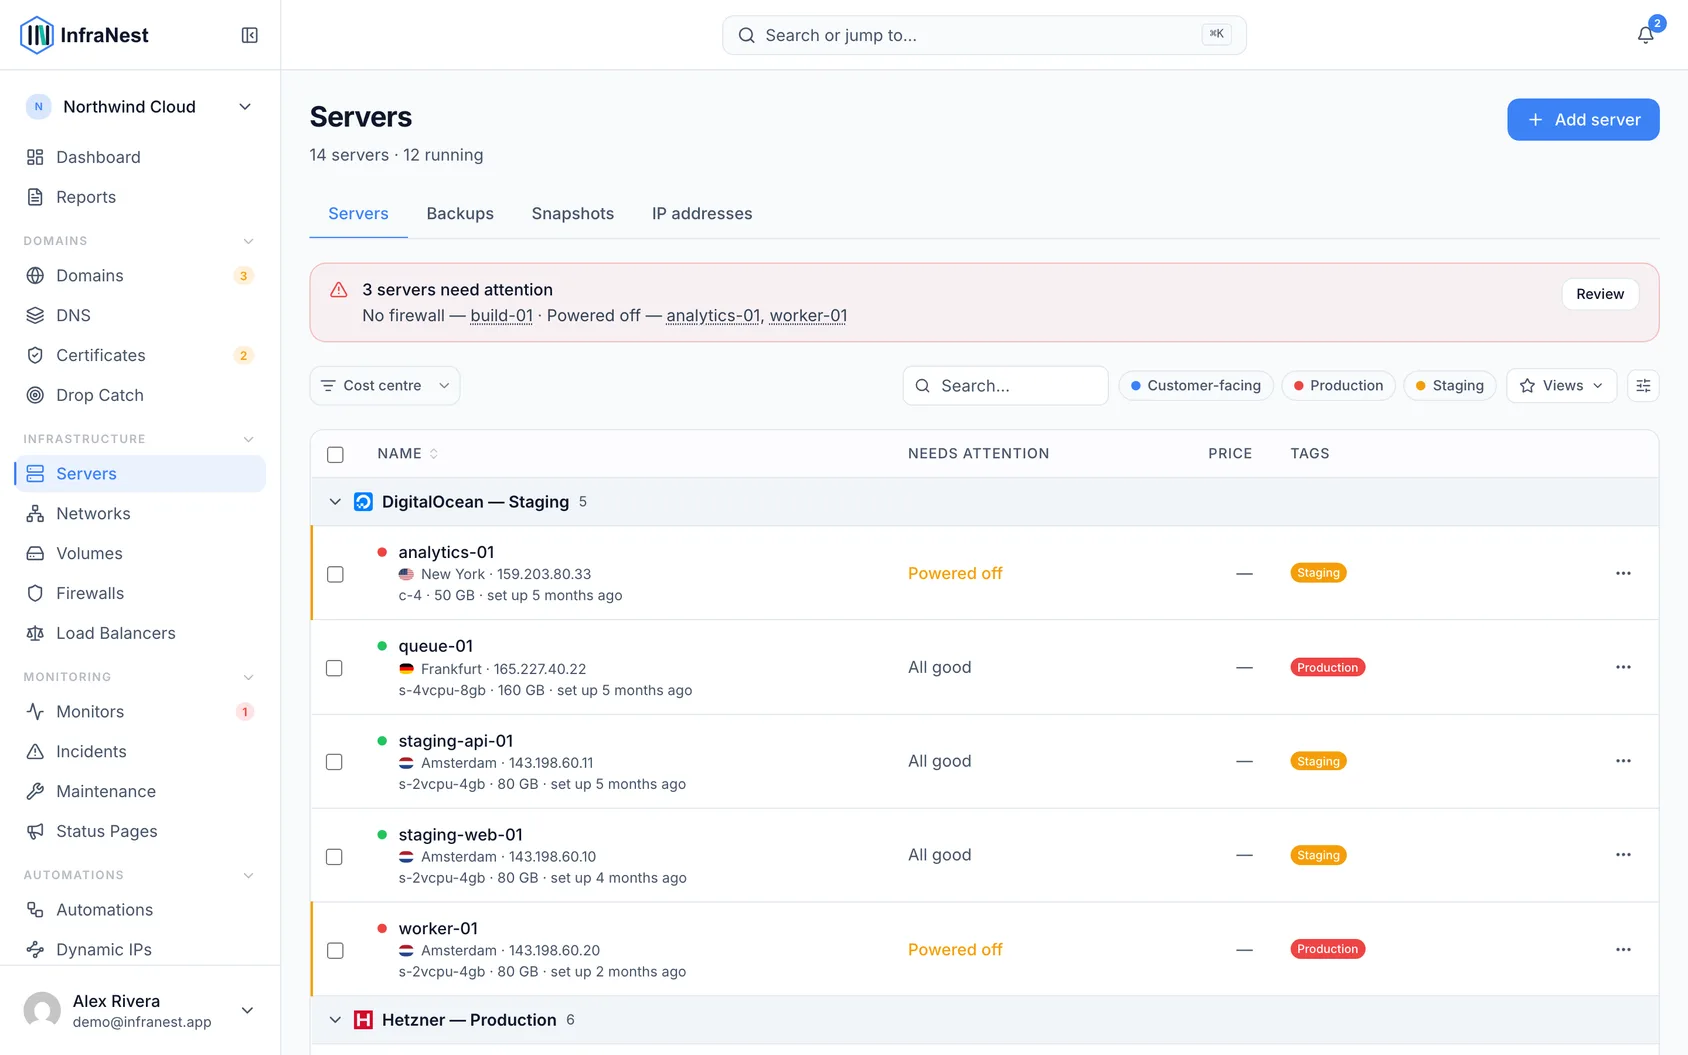
- Open Servers from the sidebar to see a single list of all your servers.
- Use Search and Filter to find a specific server, and Tags to organize them.
- Click a server to open it and manage it.
- Use Add server to provision a new one.
Supported providers: Hetzner Cloud, DigitalOcean, TransIP and OVHcloud.
What you can do differs by provider, and InfraNest reads that directly from what each provider supports rather than assuming — rescue mode, a web console, ISO mounting, placement groups and the provider's own delete protection aren't available everywhere. A control your provider can't back is greyed out with the reason shown, instead of failing after you press it.
NoteOVHcloud is the exception worth knowing about: a VPS there is ordered through OVHcloud's own process rather than created from InfraNest, and removing one cancels a subscription with a notice period. Both creating and deleting are done in the OVHcloud panel, and the server appears here on the next sync.
Tips
TipIf a server was added by you rather than through a connected provider, renaming it always works instantly since there's no provider to check with.
Was this article helpful?