

Conditions let you control exactly when an automation runs, instead of letting it fire on every matching event. This article is for anyone setting up or fine-tuning automations in InfraNest.
#Overview
- Without conditions, a rule runs on every event that matches its trigger.
- With conditions, the rule only runs when the event's details also match what you've set.
- All conditions must match — they're combined with and by default (you can mix in or using groups).
#Add a condition to a rule
- Open the automation and go to where you build it.
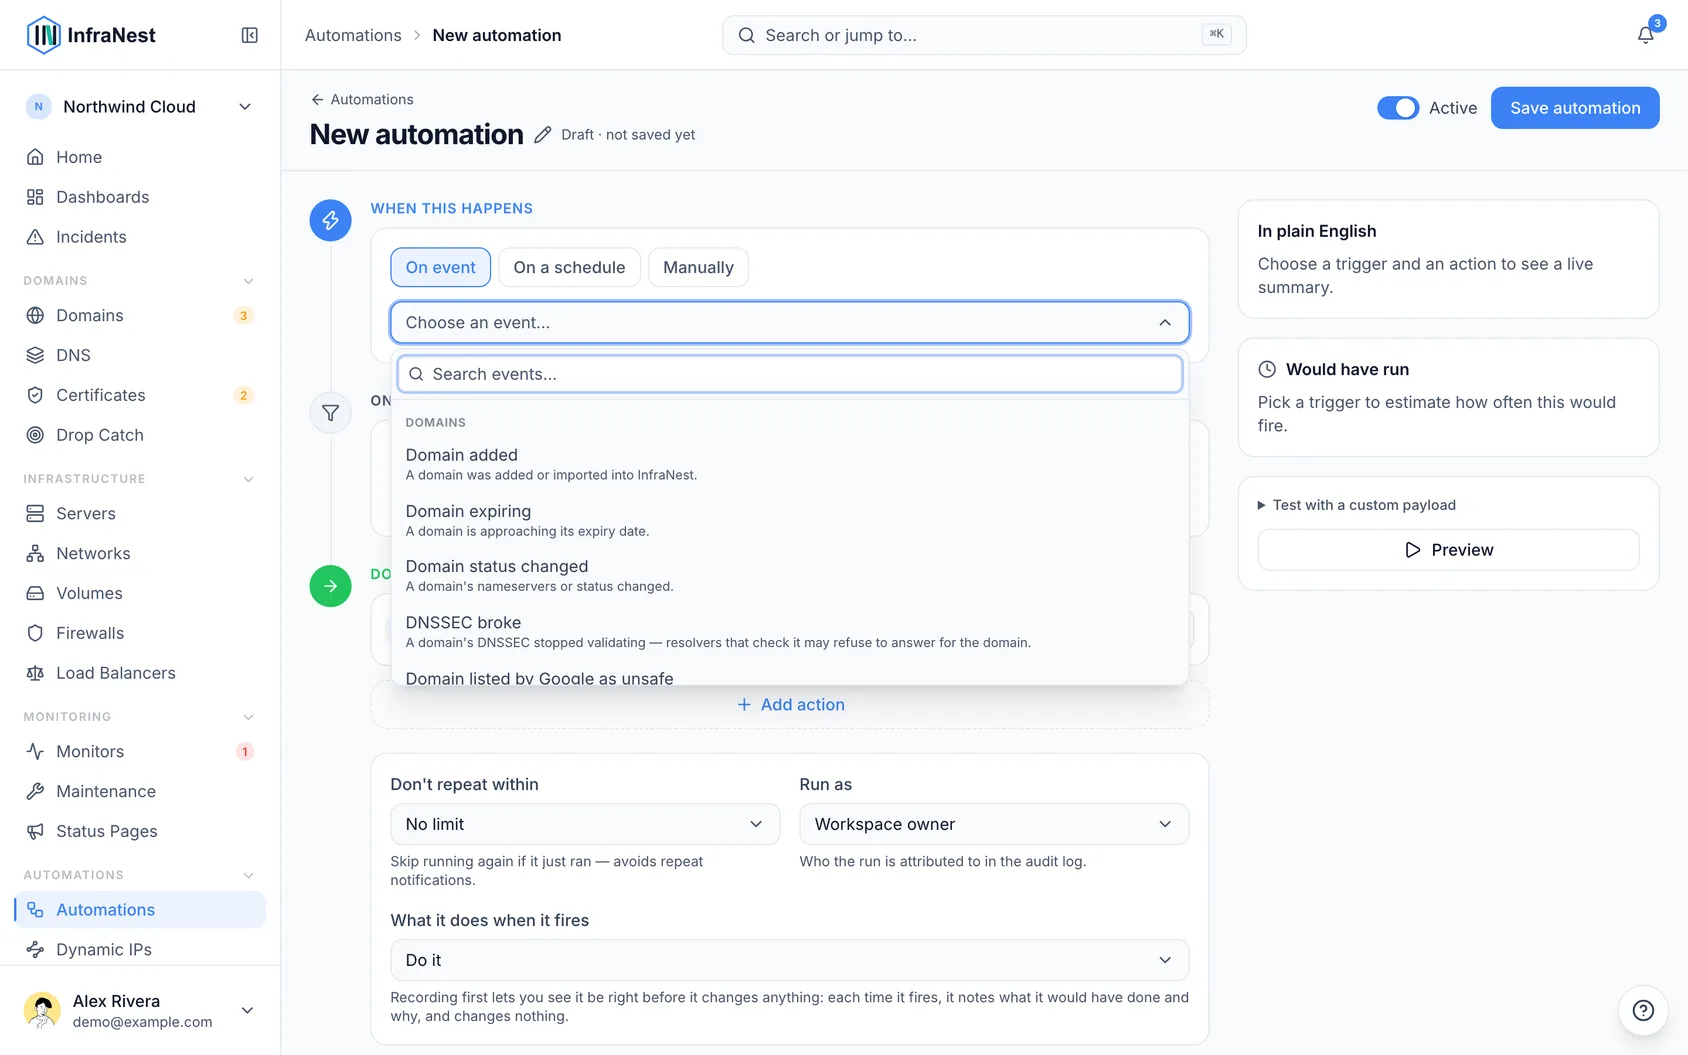
- Select Add condition.
- Choose the Field you want to check. The fields available depend on the trigger you picked — for example, a domain-expiring event offers fields like Days left, while a monitor event offers fields like Check name and Monitor status now.
- Choose an Operator — options include equals, not equals, contains, doesn't contain, greater than, greater or equal, less than, less or equal, is one of, is not one of, is set, and is not set.
- Enter the Value to compare against. You can type a fixed value, or use Insert value to reference a placeholder from the event itself (or from Earlier values) — this lets you compare one field to another, or to the current date/time.
- Repeat to add more conditions. Remember, every condition you add must match for the rule to run.
- Select Save automation when you're done.
NoteLeave the conditions list empty if you want the rule to run on every matching event.
#Build an "this or that" rule with groups
- In the conditions area, select Add group.
- Set the group's own Match toggle to Any (to mean "or") or All (to mean "and") — this controls how the conditions inside that group are combined.
- Add the relevant conditions inside the group using Add condition.
- Add more groups if needed — groups can be nested, so you can combine an All group with an Any group to express something like: (days left is less than 14 and tags contains production) or (certificate status equals expired).
- Select Remove group next to any group you no longer need.
- Select Save automation to apply your changes.
#Limit a rule to certain times
- Add a condition using one of the built-in time fields: Weekday (0 is Sunday), Hour of day (0–23), or Weekend.
- Choose an Operator, such as equals or greater or equal, and enter the Value — for example, Hour of day (0–23) greater or equal 18 to only act after 18:00.
- Combine this with other conditions if needed, using groups if you want "or" logic.
- Select Save automation.
TipTime-based fields are evaluated in InfraNest's timezone, so double-check the time zone if a rule seems to run at an unexpected moment.
#Tips
- Use Test run or Test run (dry run) after setting up conditions to confirm the rule would — or would not — have acted on a sample event, without it actually firing.
- Keep conditions as simple as possible at first; you can always add more using Add condition or Add group later.
#Troubleshooting
- The rule never runs: Check that every condition can actually be true at the same time — remember they're combined with and unless you've grouped some with Any.
- The rule runs when it shouldn't: Look for a missing condition, or a group set to Any that's too broad — tighten it with All or add another condition.
- A field isn't available: The fields you can choose depend on the trigger. Check Automation triggers and actions to see which fields that specific trigger exposes.
Was this article helpful?
Thanks for your feedback!
Thanks, this goes straight to the docs team.
Still stuck? Contact support
Related articles
Automation rulesAutomation triggers and actionsThe full list of what an automation can react to (triggers), the ways to narrow when it runs (conditions), and what it can do (actions).Automation rulesAbout automationsAutomations let InfraNest react to things happening across your infrastructure on its own.Automation rulesPlaceholders and formattingPlaceholders let an automation drop live details from the event into a message, title or webhook — so instead of a generic "A certificate is expiring" you…Automation rulesCheck your automation runsOnce a rule is live, InfraNest records every time it runs — so you can confirm it's working and see exactly what each action did.